These wood slice ornaments would make the sweetest gift for anyone. The gift of handmade is one of my favorites to give and to receive. It’s the gift that keeps giving and that lasts a lifetime. This tutorial is super easy to follow and could be such a fun craft to do even with children. There are so many substitutions, for instance instead of using pictures you could easily use craft paint and do a baby’s handprint. No matter what, gift the gift of memories this year and watch as your friends and family light up with joy.
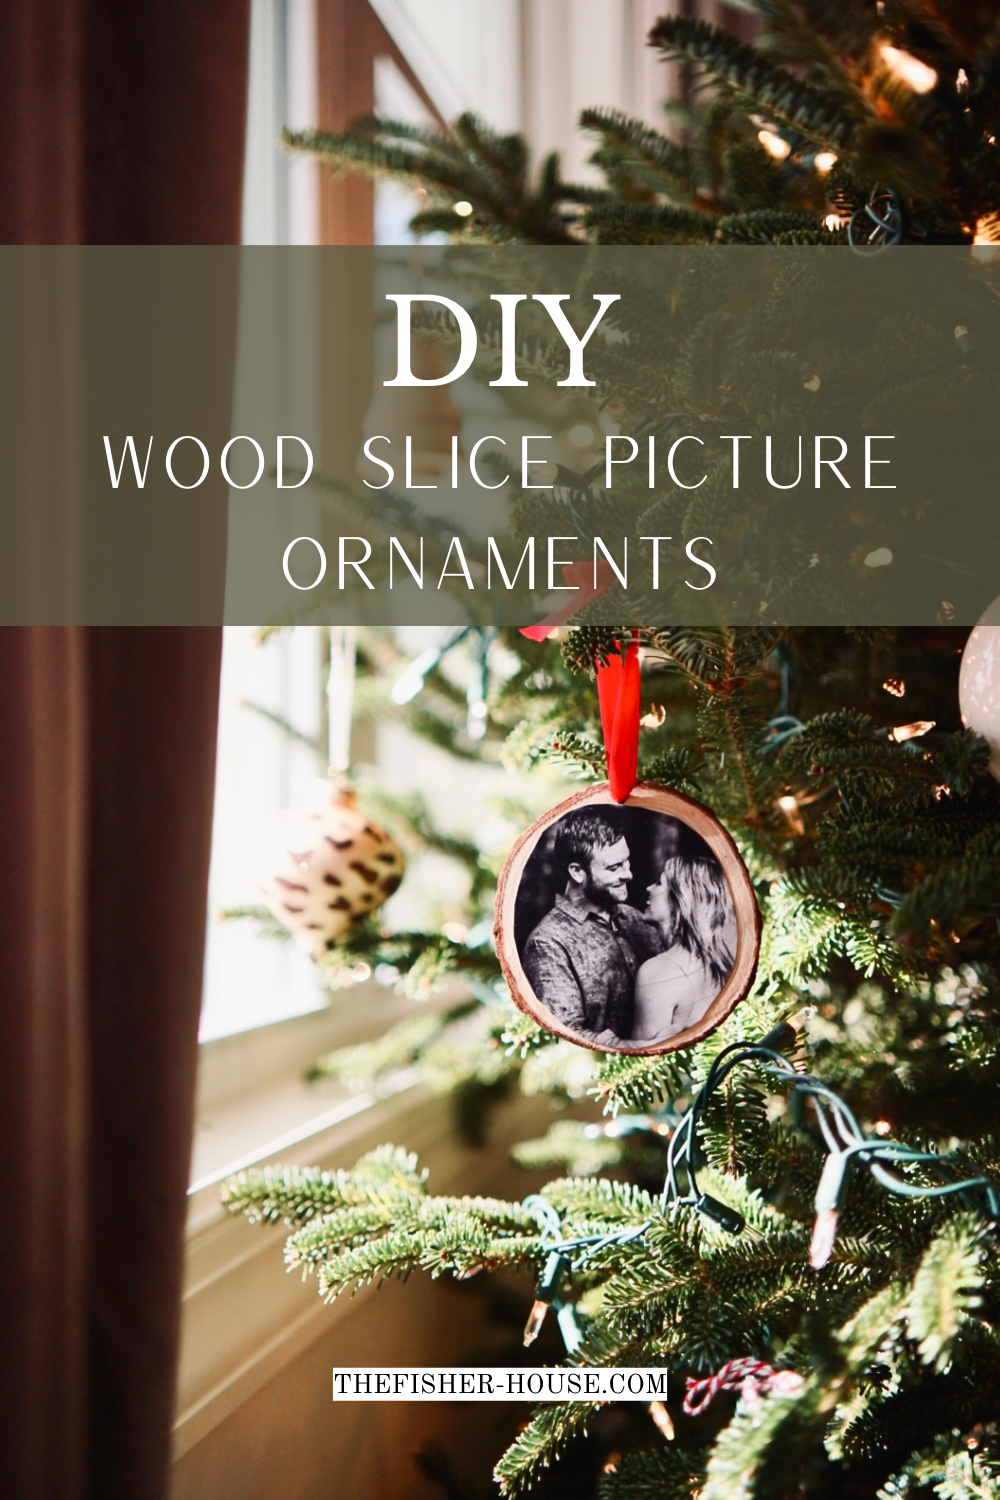
Supplies
- Pictures
- Wood Slice Ornaments
- Red Velvet Ribbon (or any color you choose)
- Mod-Podge (I use Matte)
- Scissors
- Wide Mouth Jar
- Glue Stick
- Toothpick
- Paint Brush
- Optional: Glitter, Picture Cutting Press, Craft Paint, Paint Pens
Disclaimer: This post contains affiliate links. By clicking these links or purchasing items recommended by me, I will receive a small commission, at NO extra cost to you. You can rest assured if I am recommending a product, I love it! As always, thank you for supporting The Fisher House!
How-To
1. Lay out all supplies
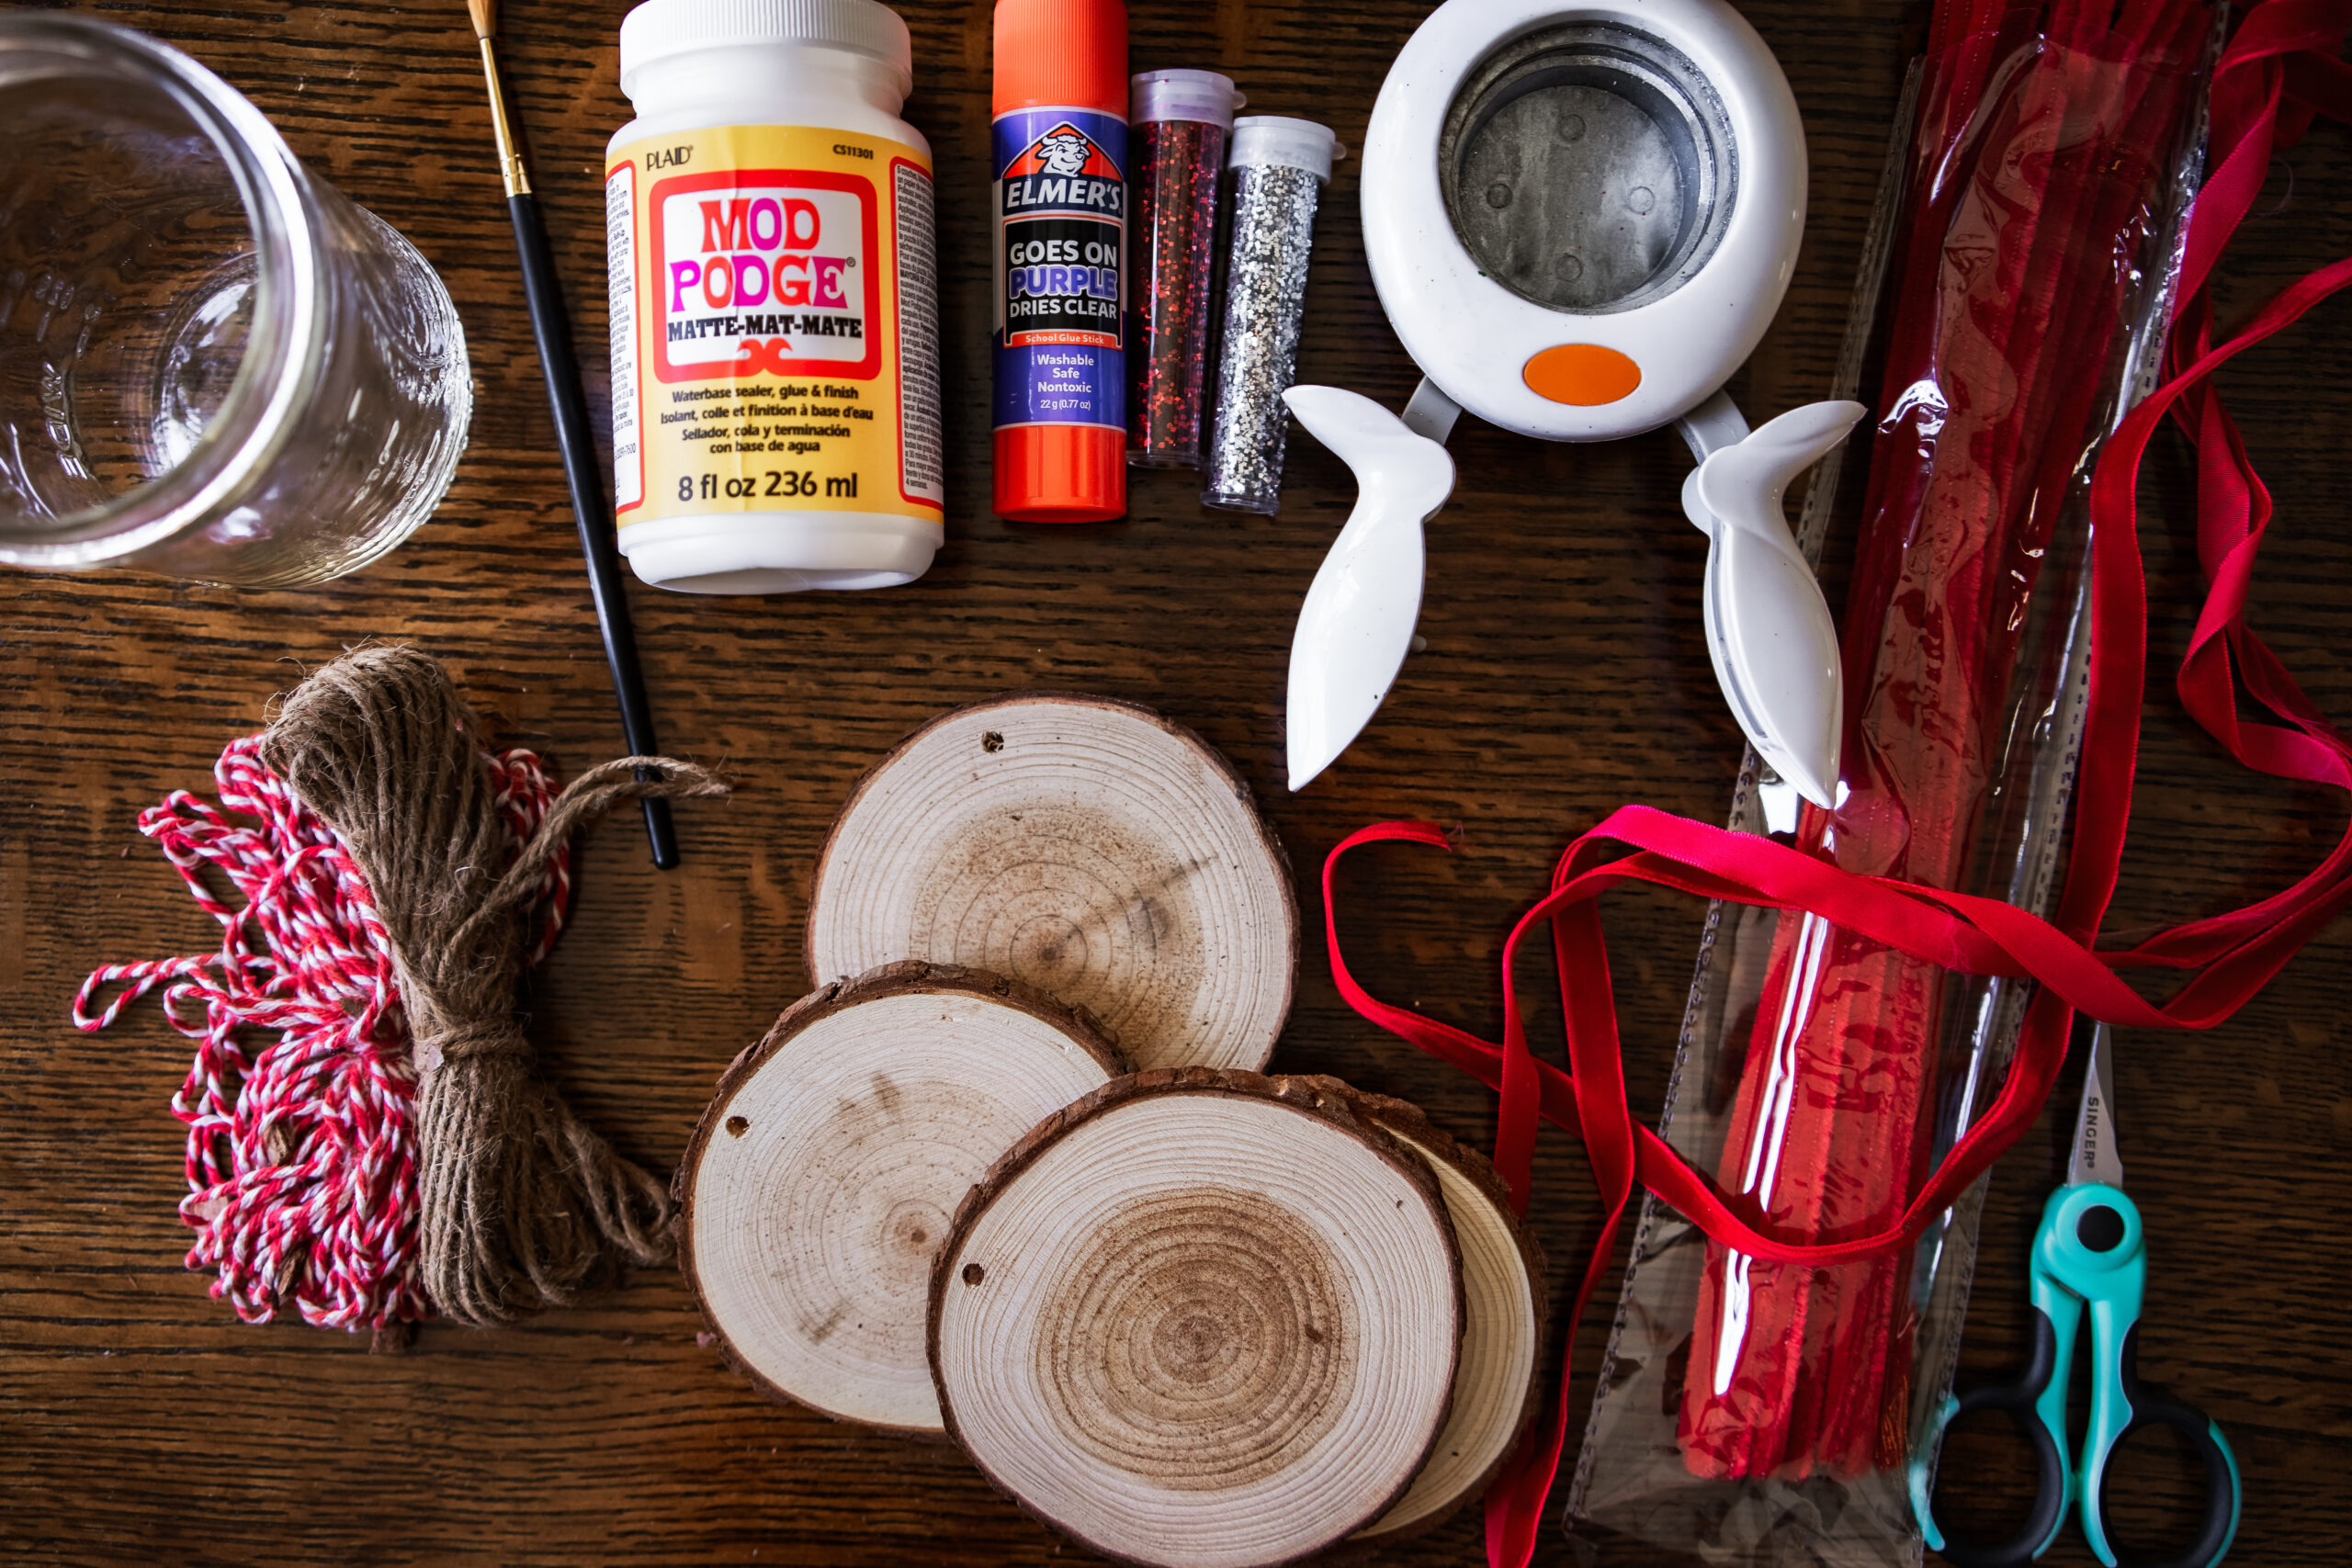
2. Cut Picture to fit wood slice
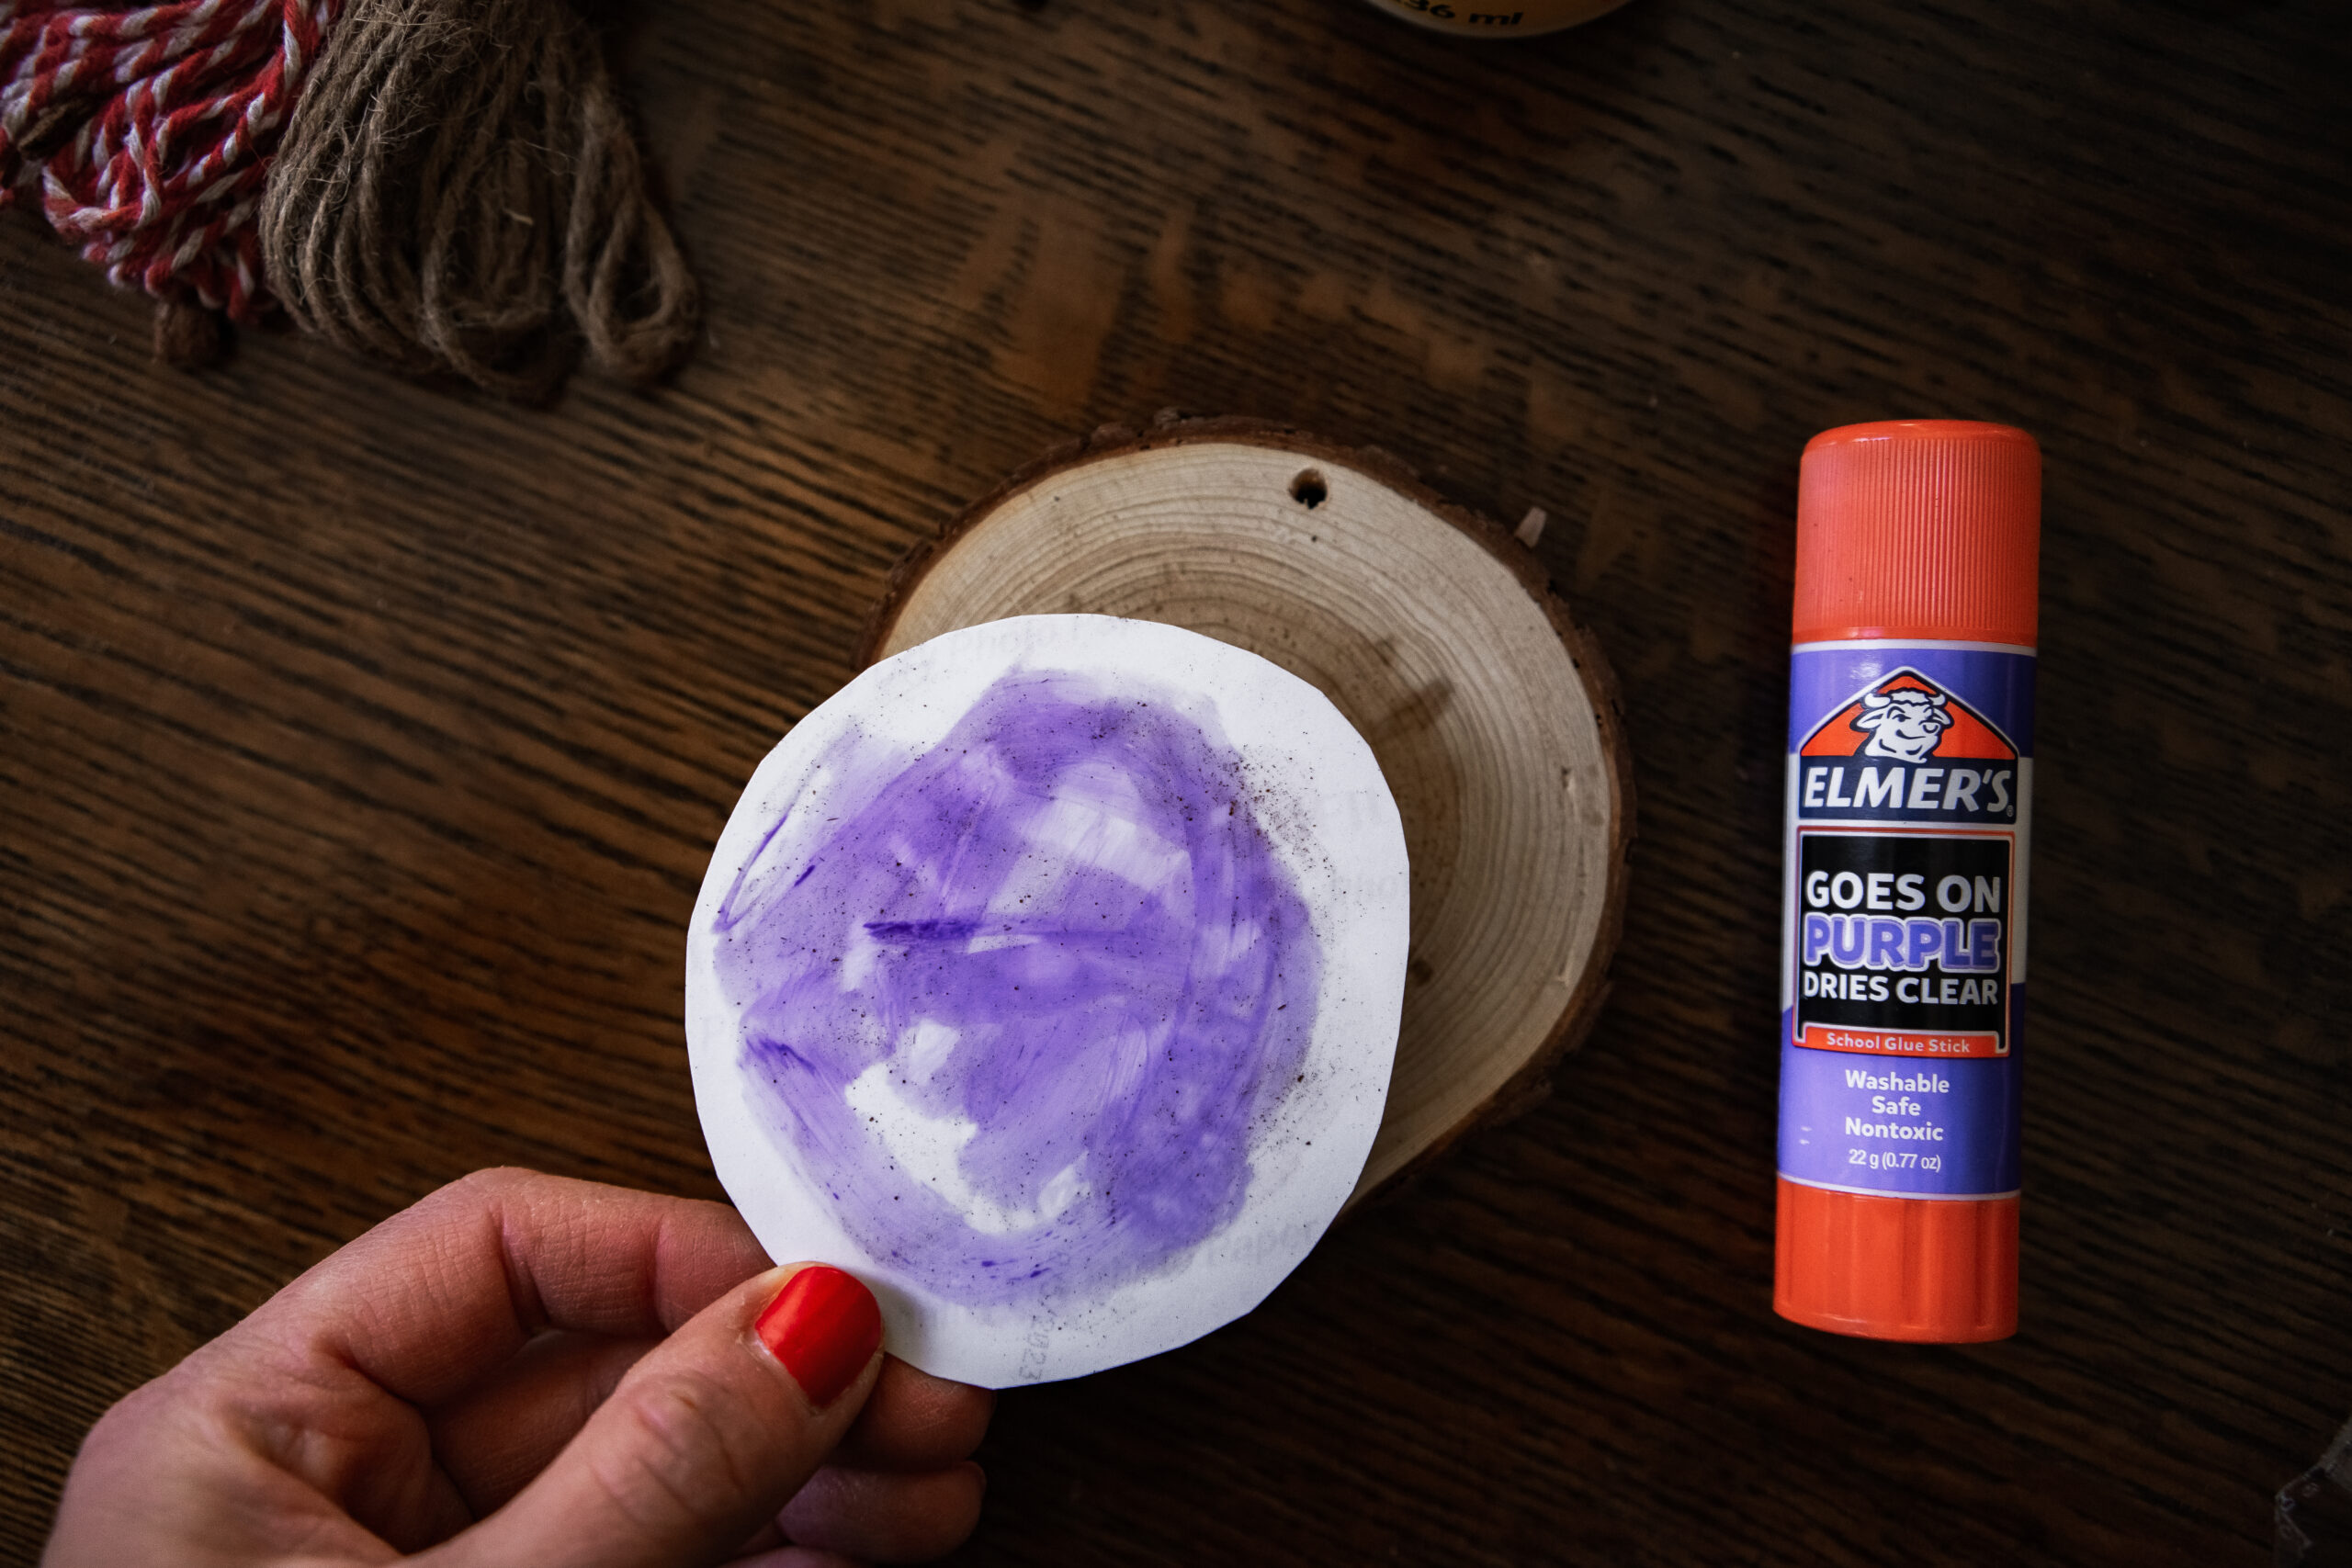
You can use a wide mouth jar for this because these particular wood slices are 3.5-4 inches wide. I also lay the ornament on top of the picture (as shown below) and do a rough cut around. Then trim it to fit!
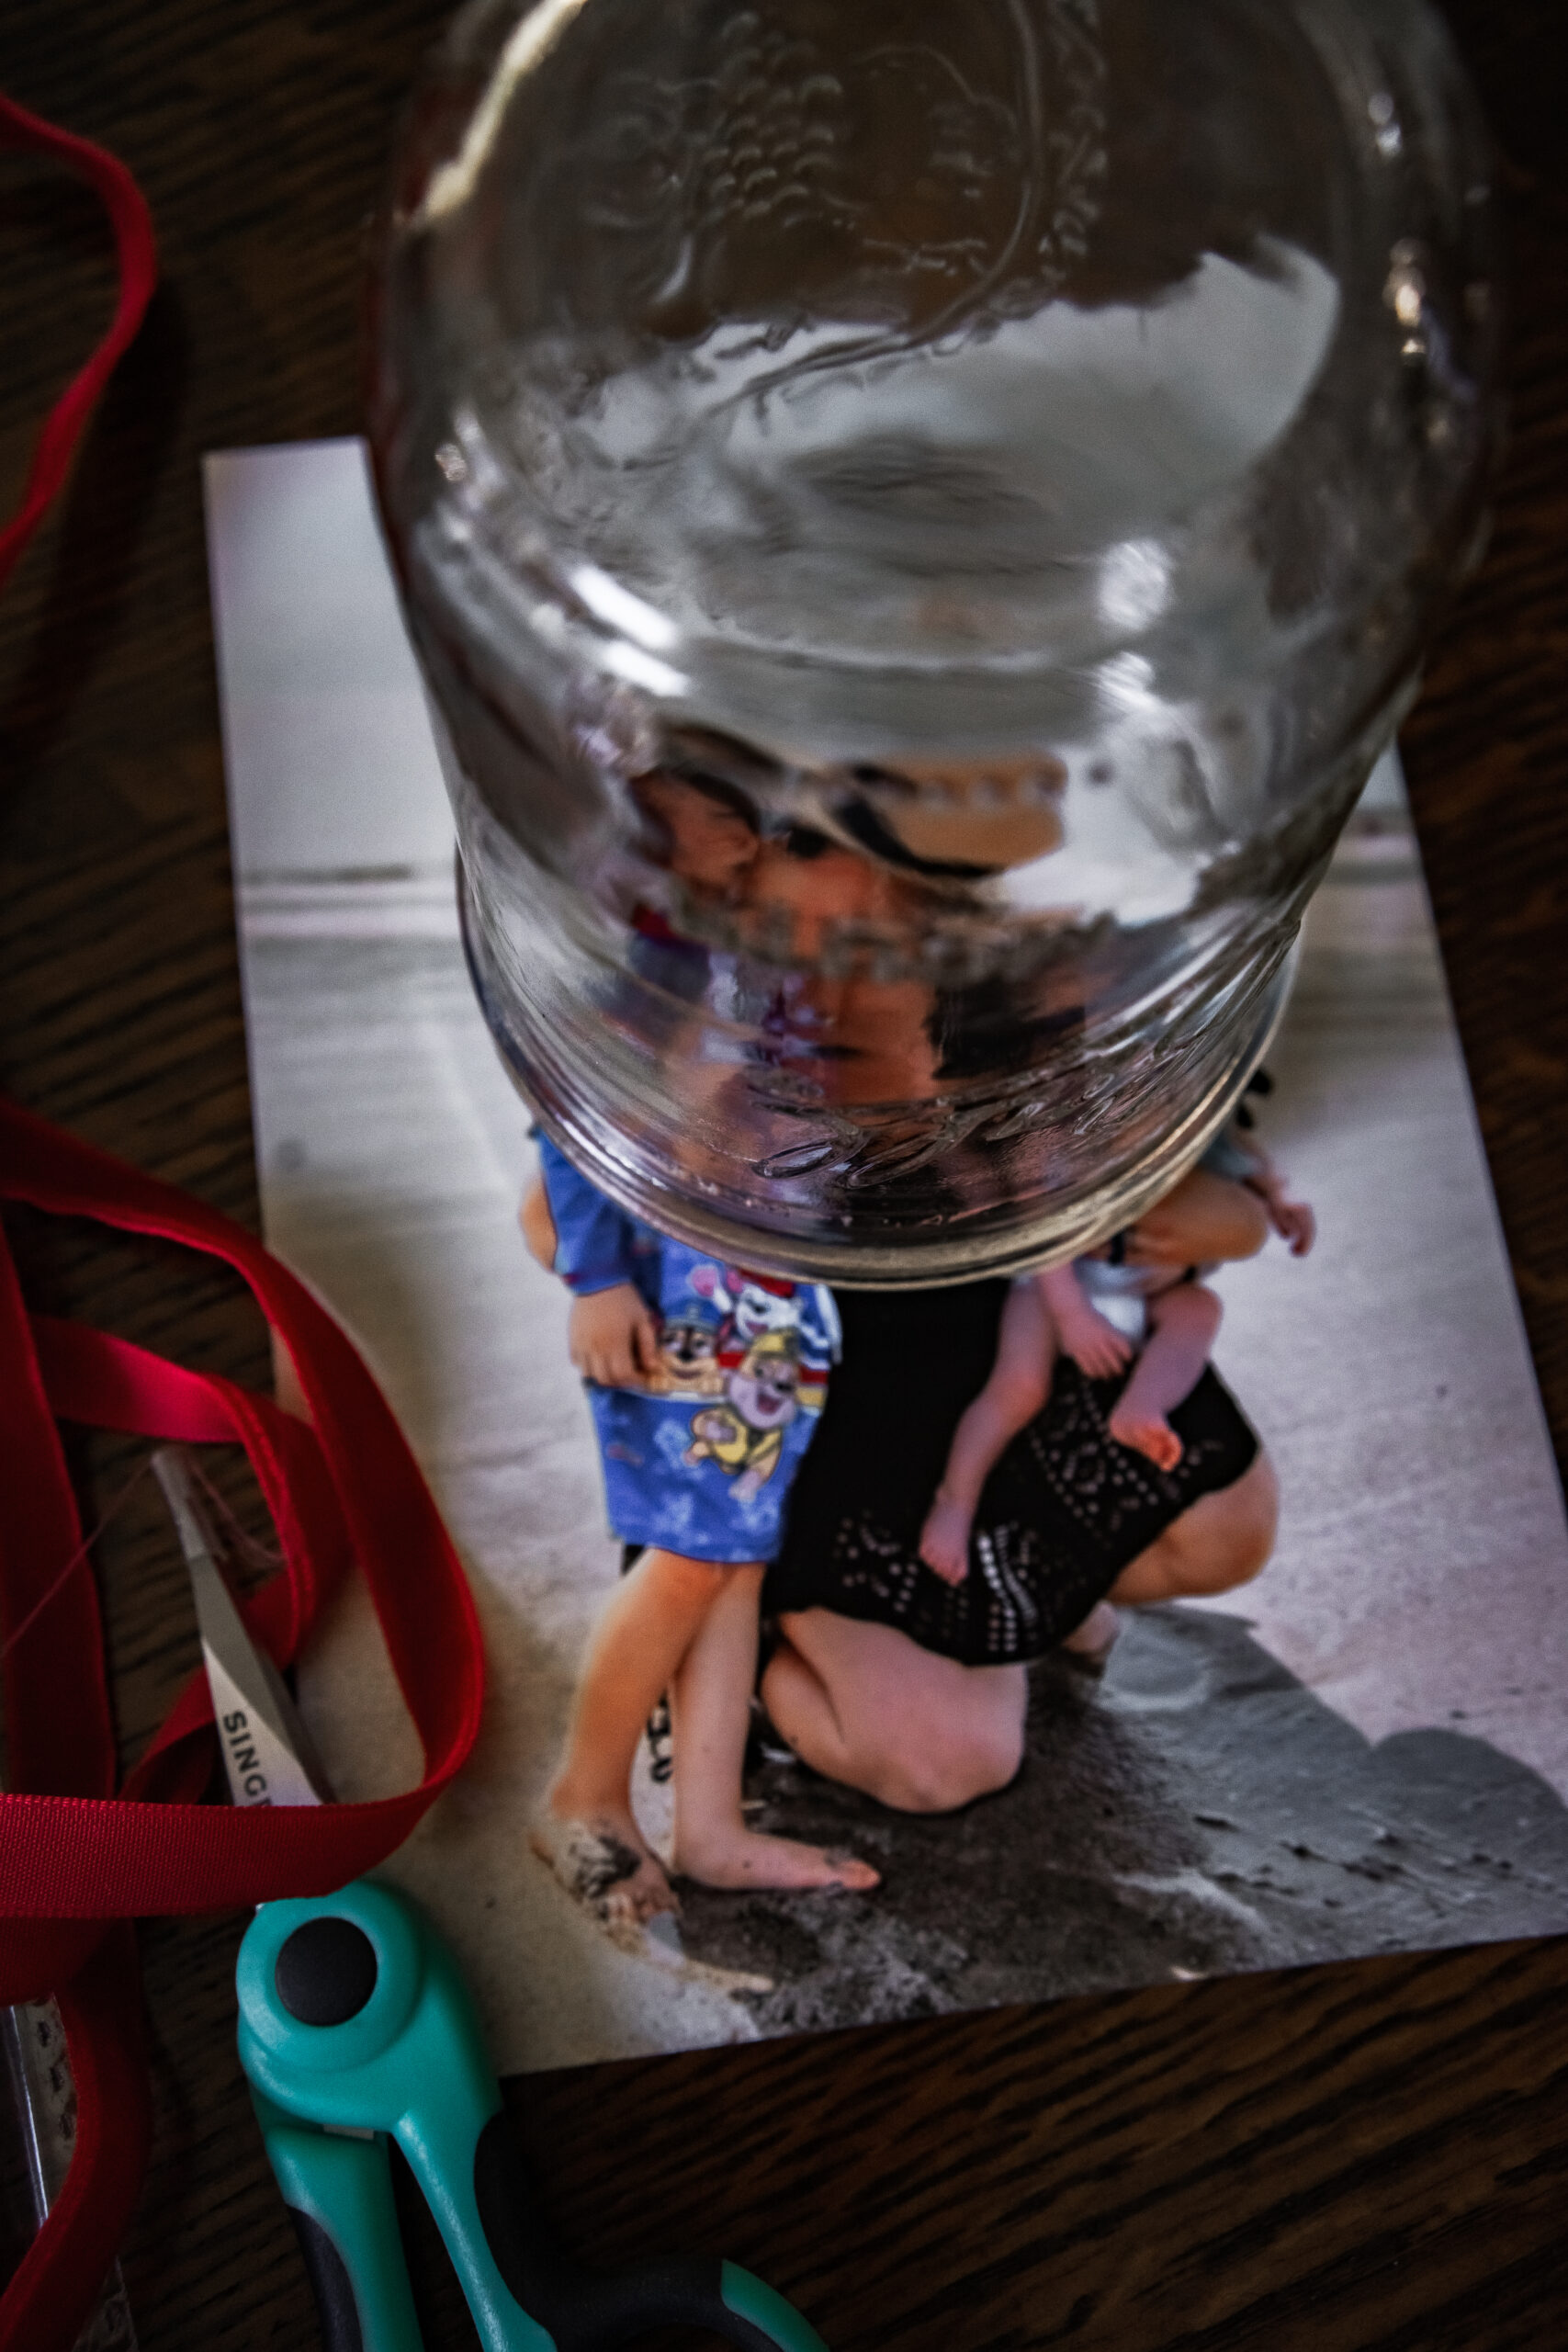
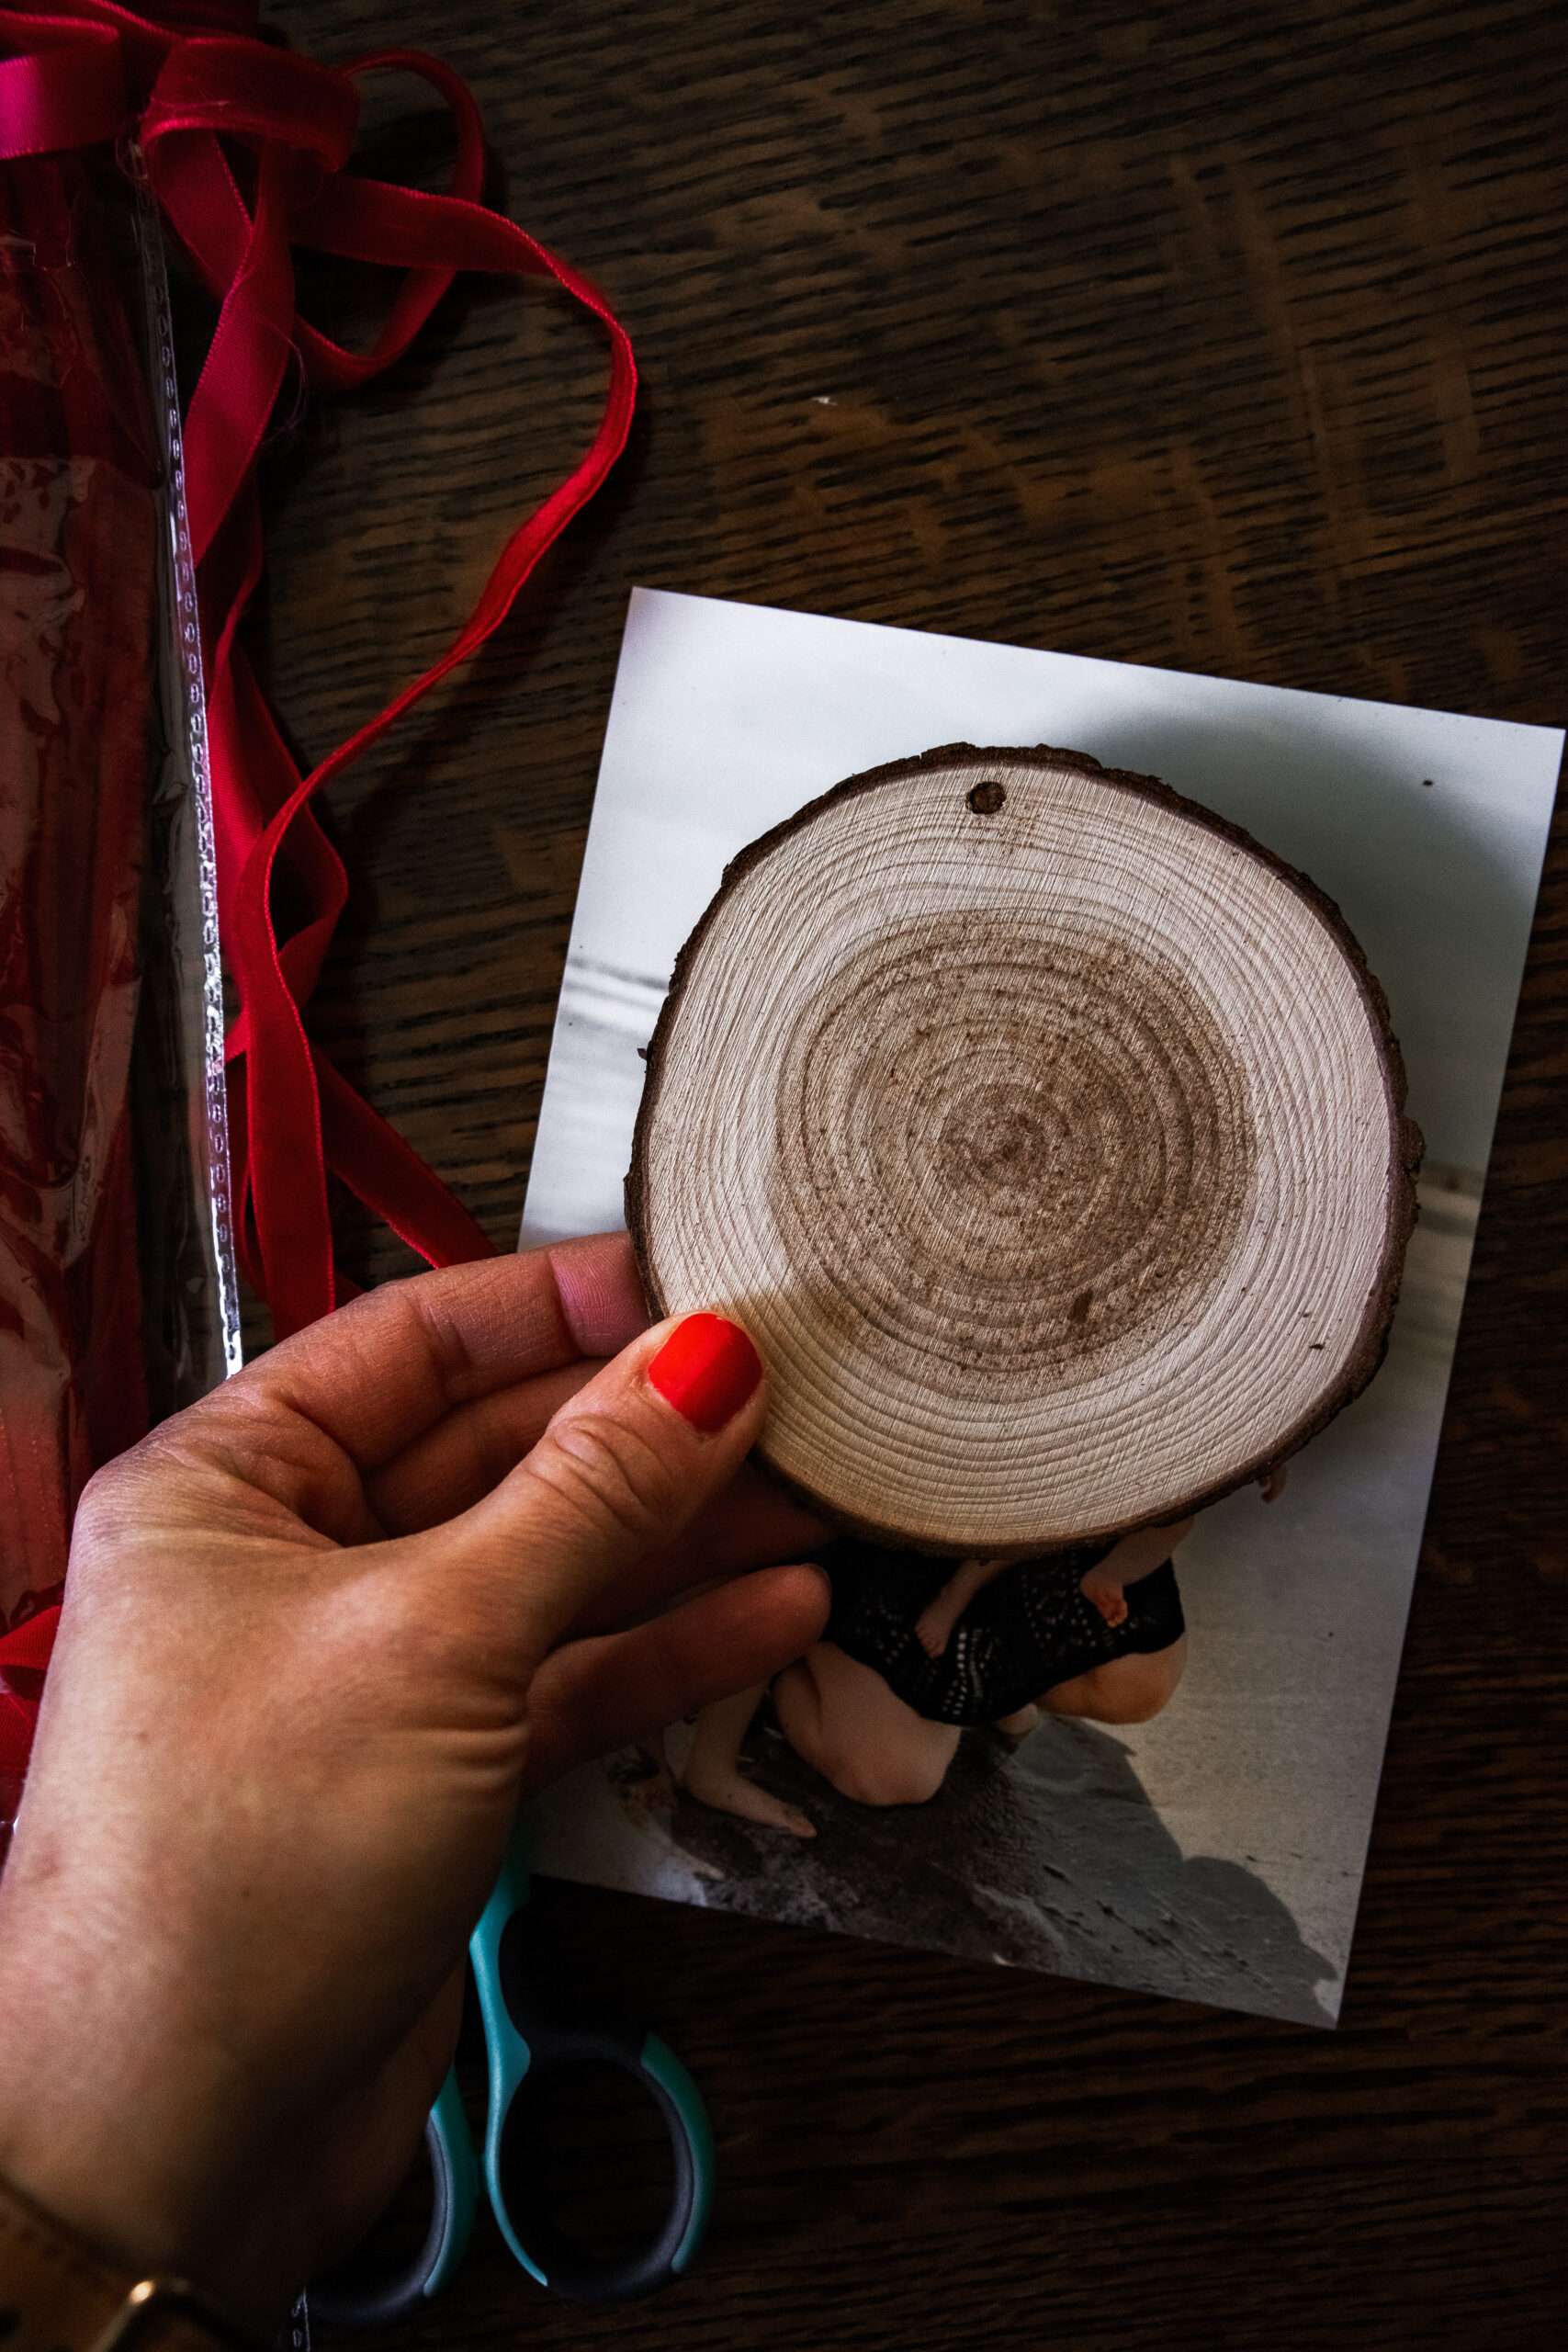
3. Attach Picture to Wood Slice
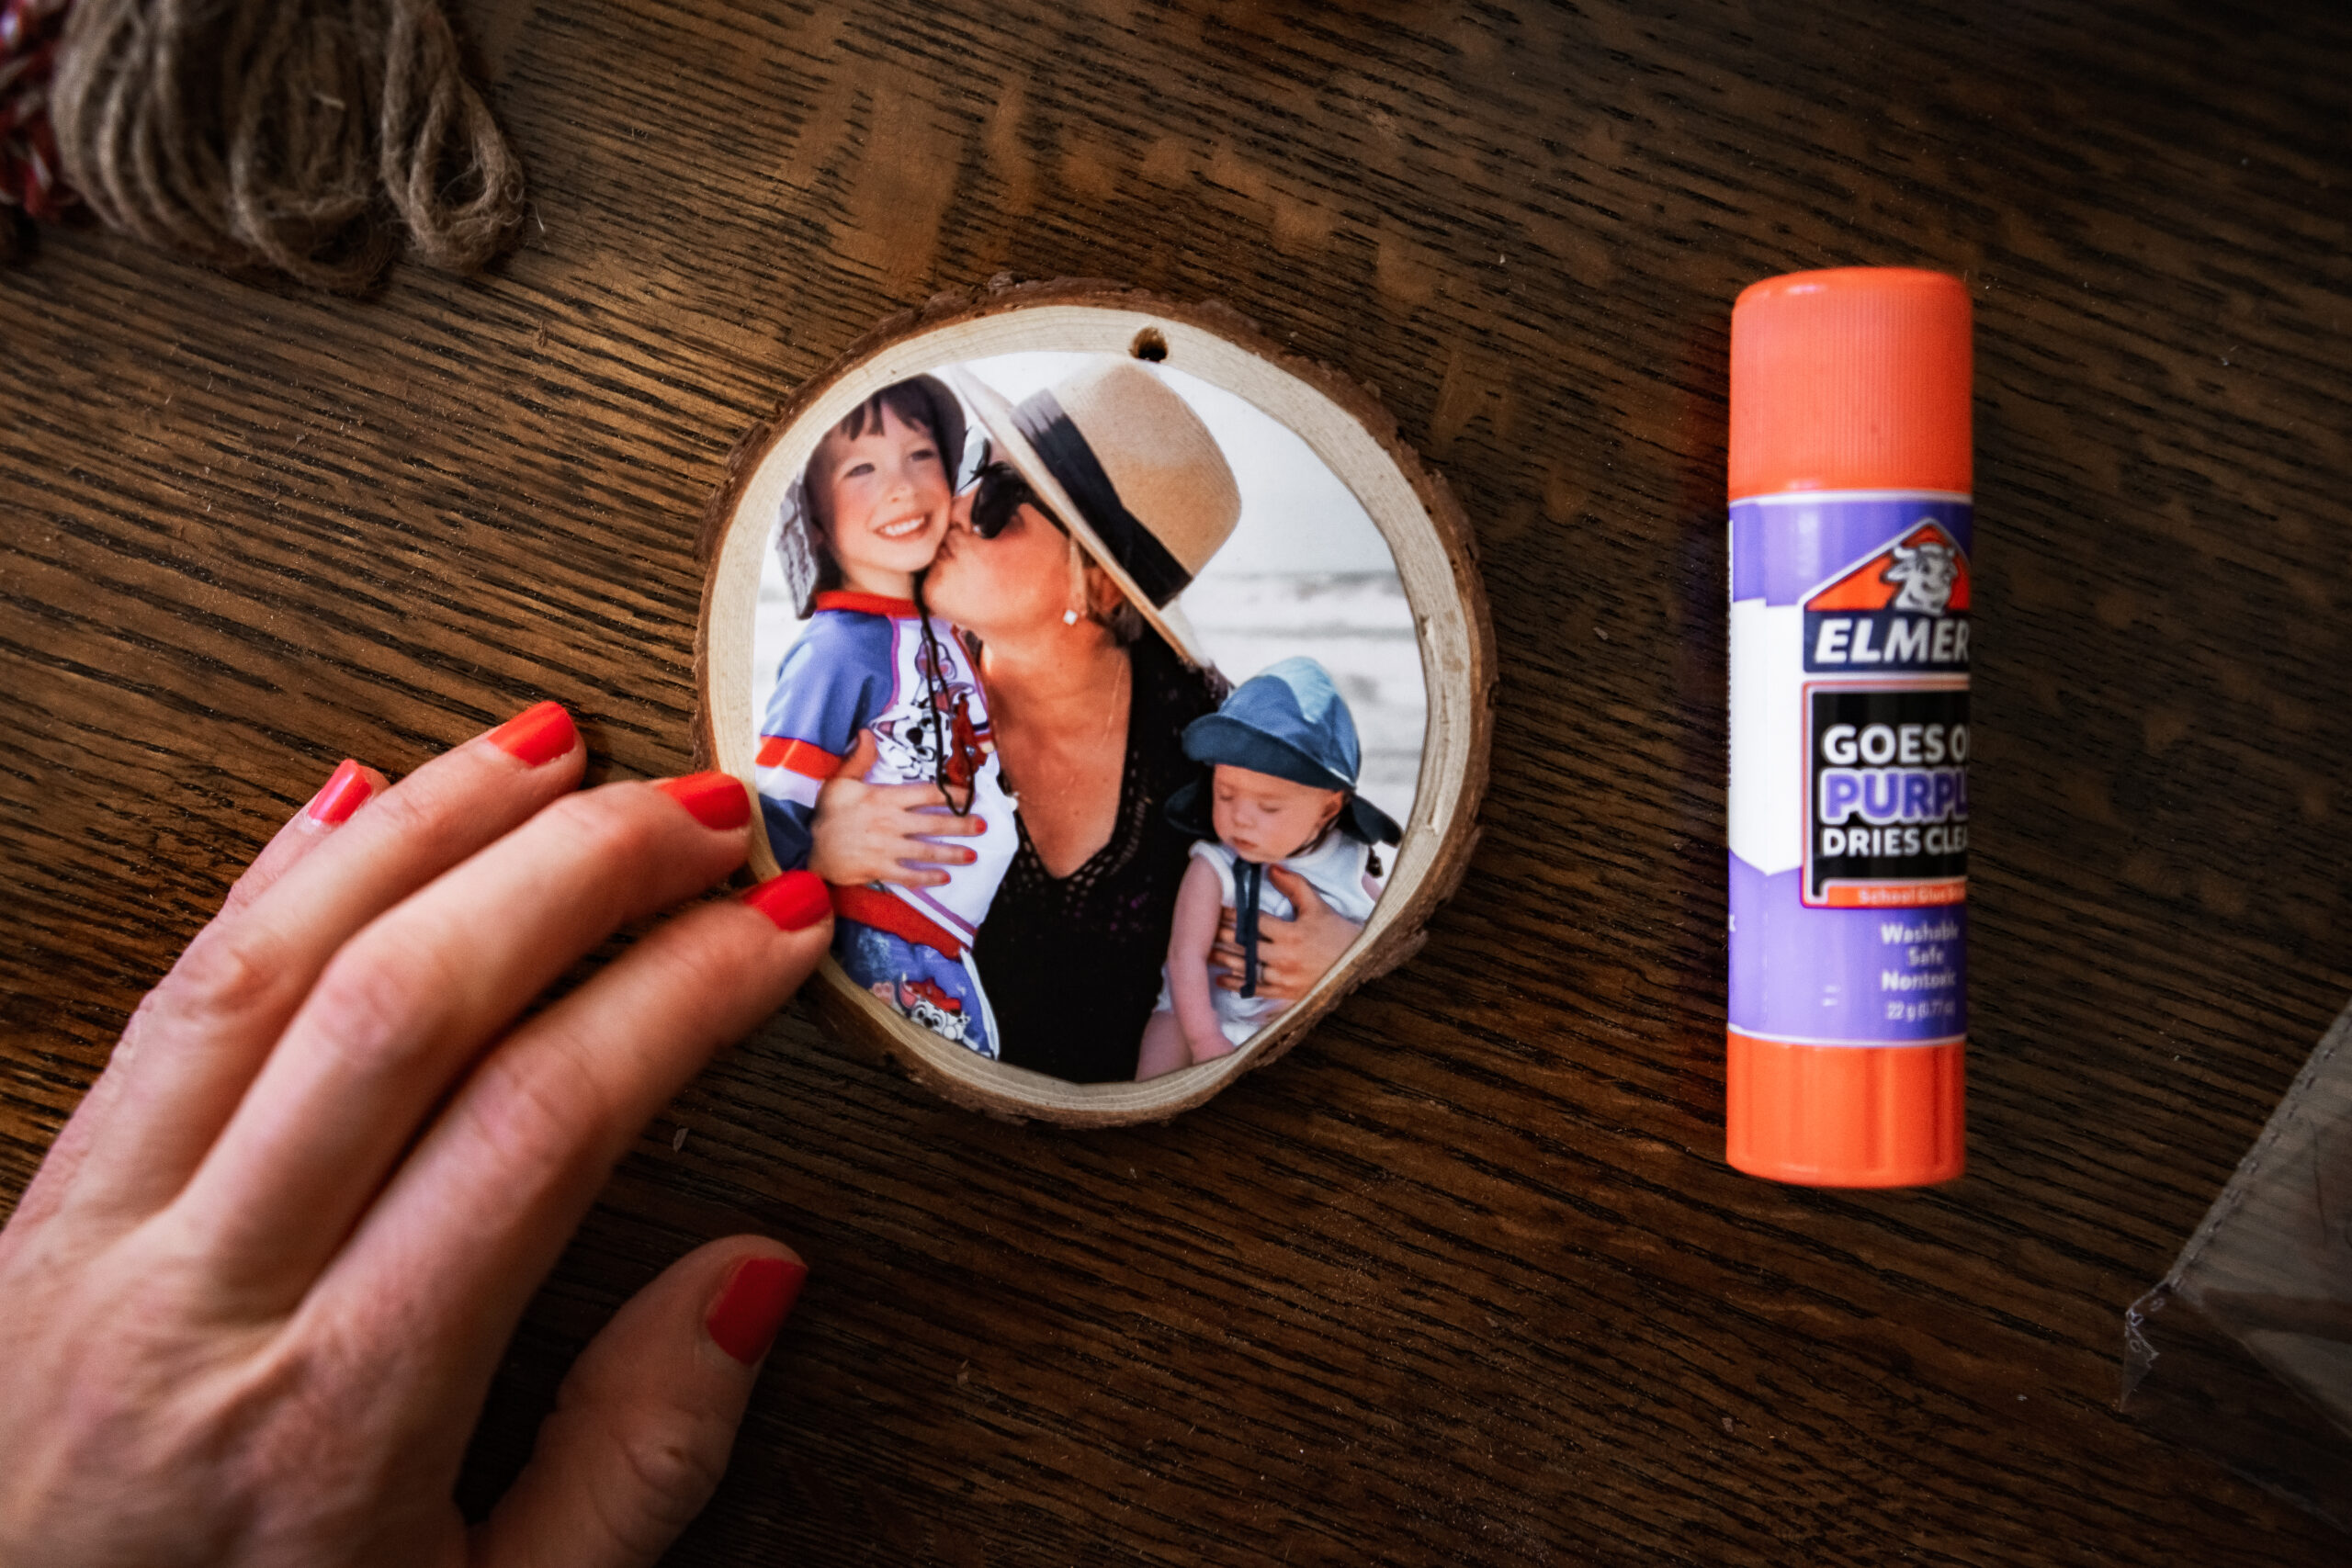
Apply glue stick to back of picture & attach to wood slice (you can also use the mod-podge for this step as well- both work great)
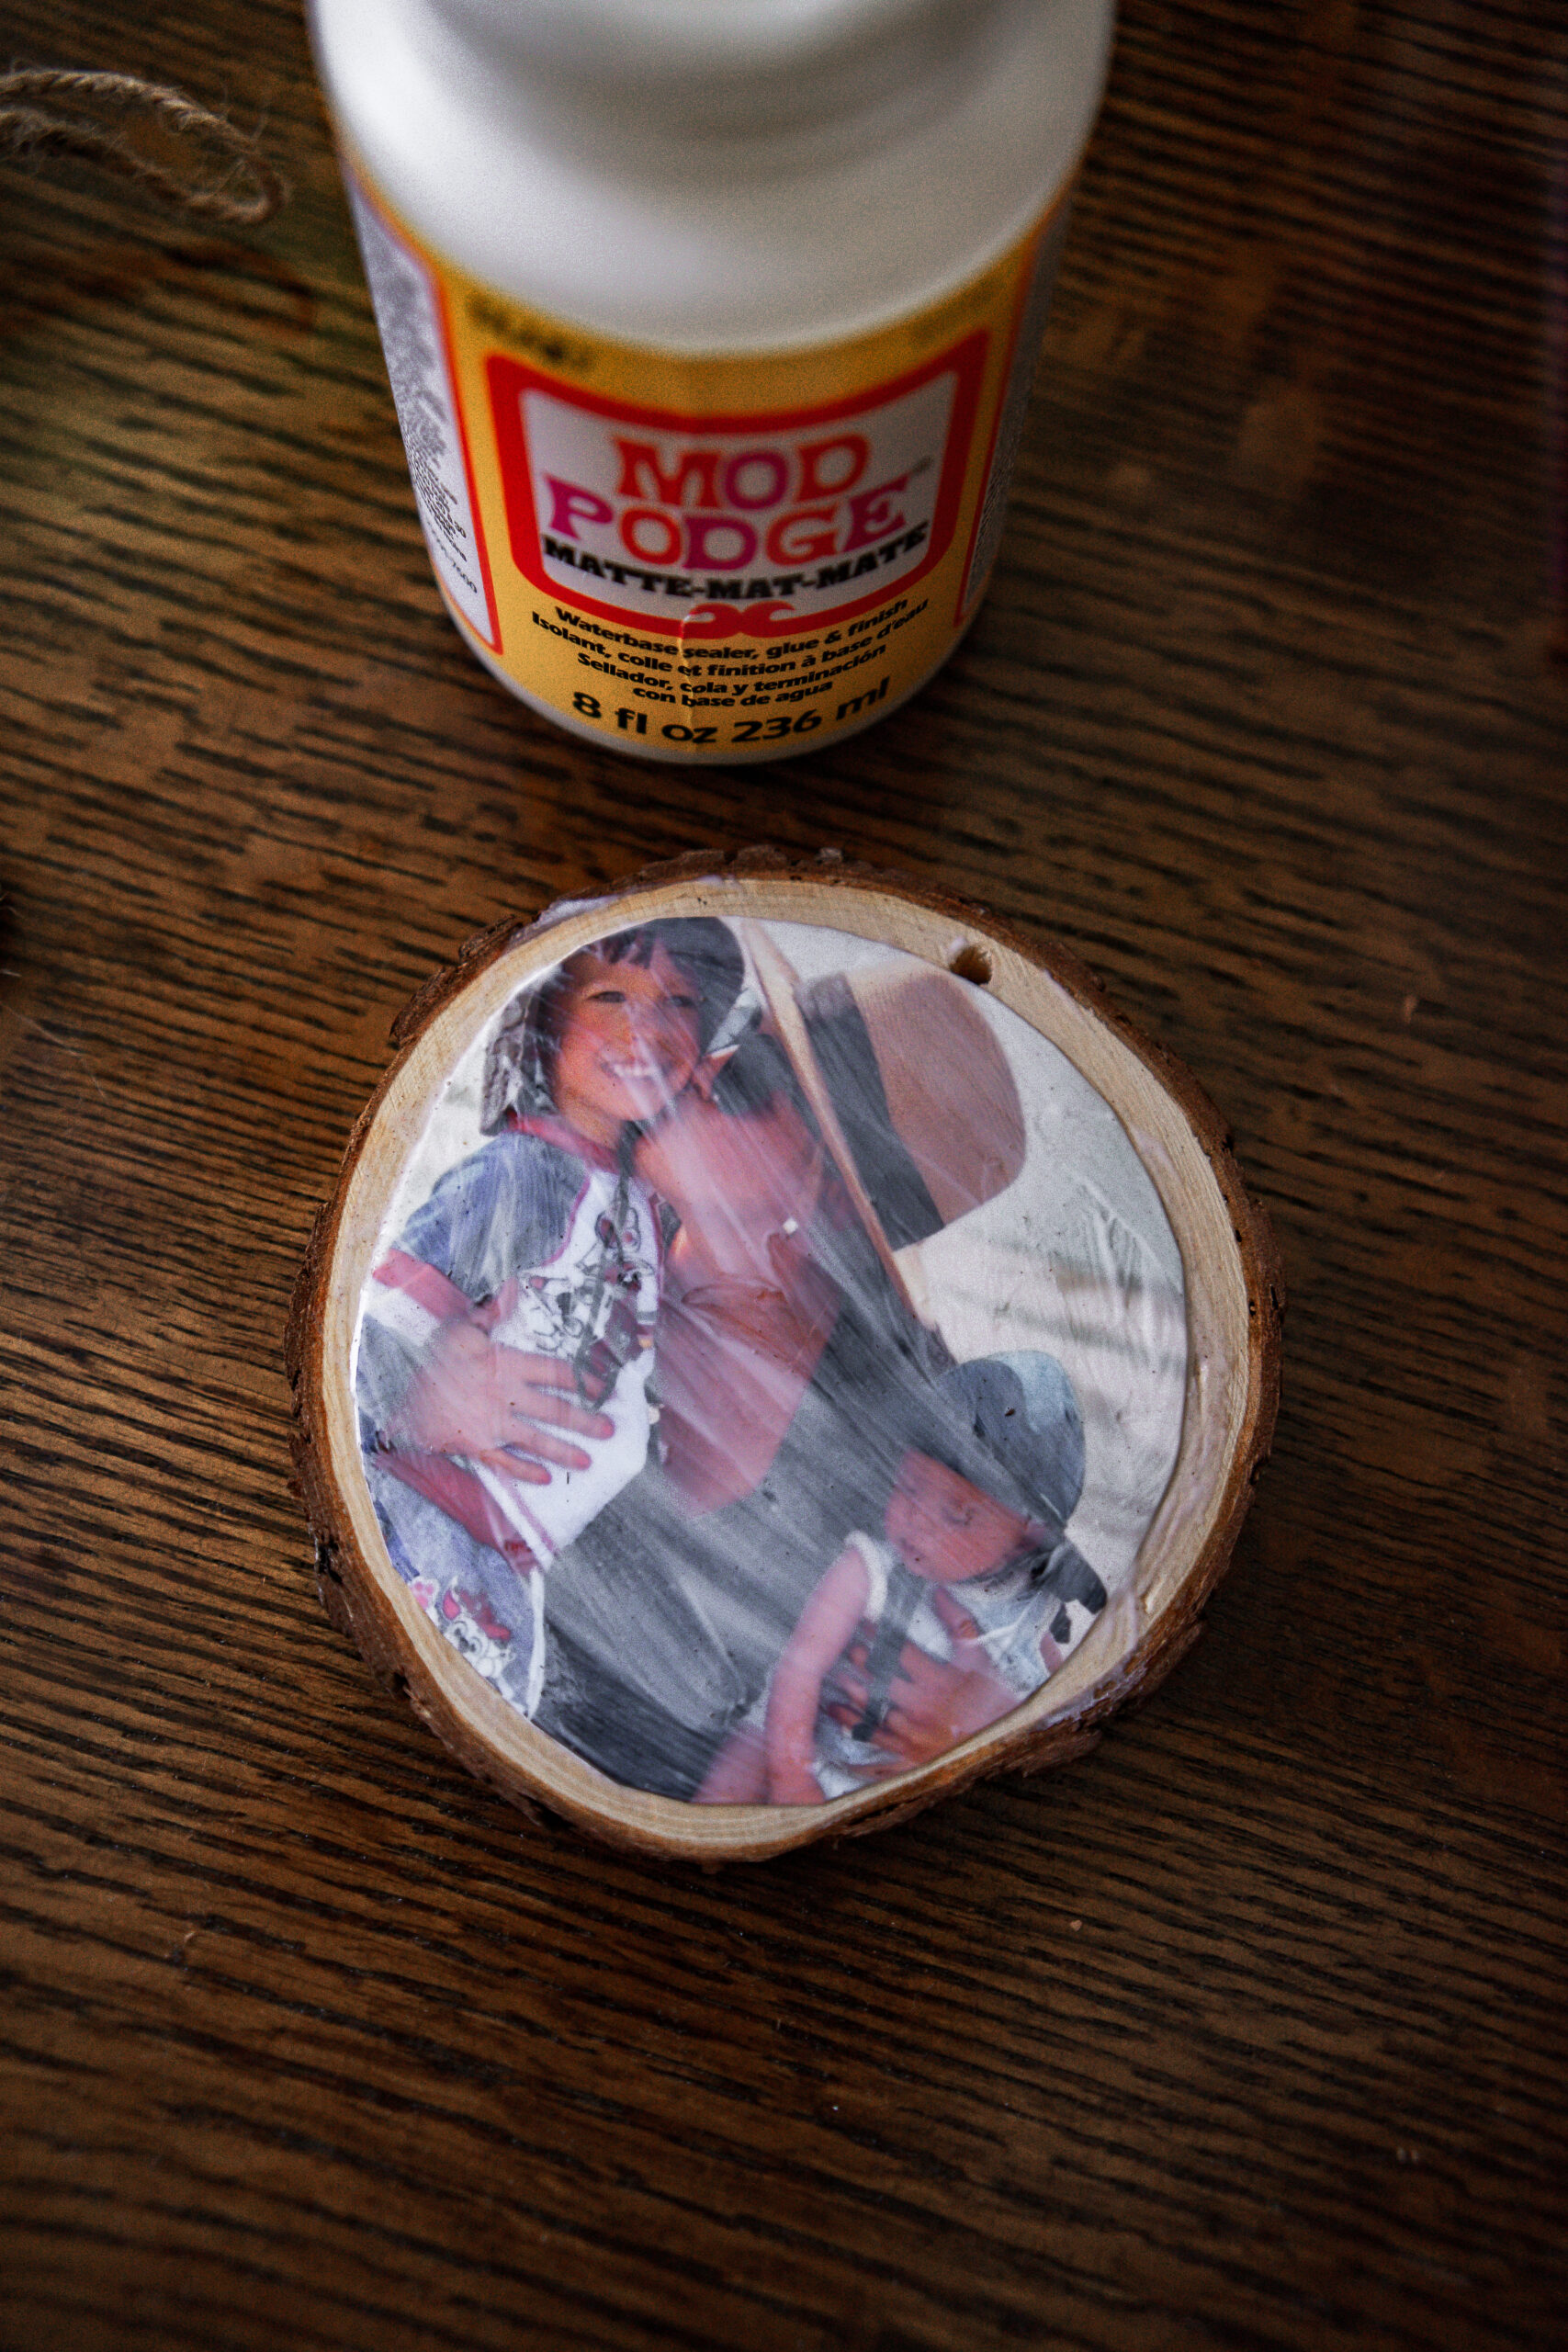
4. Apply Mod-podge
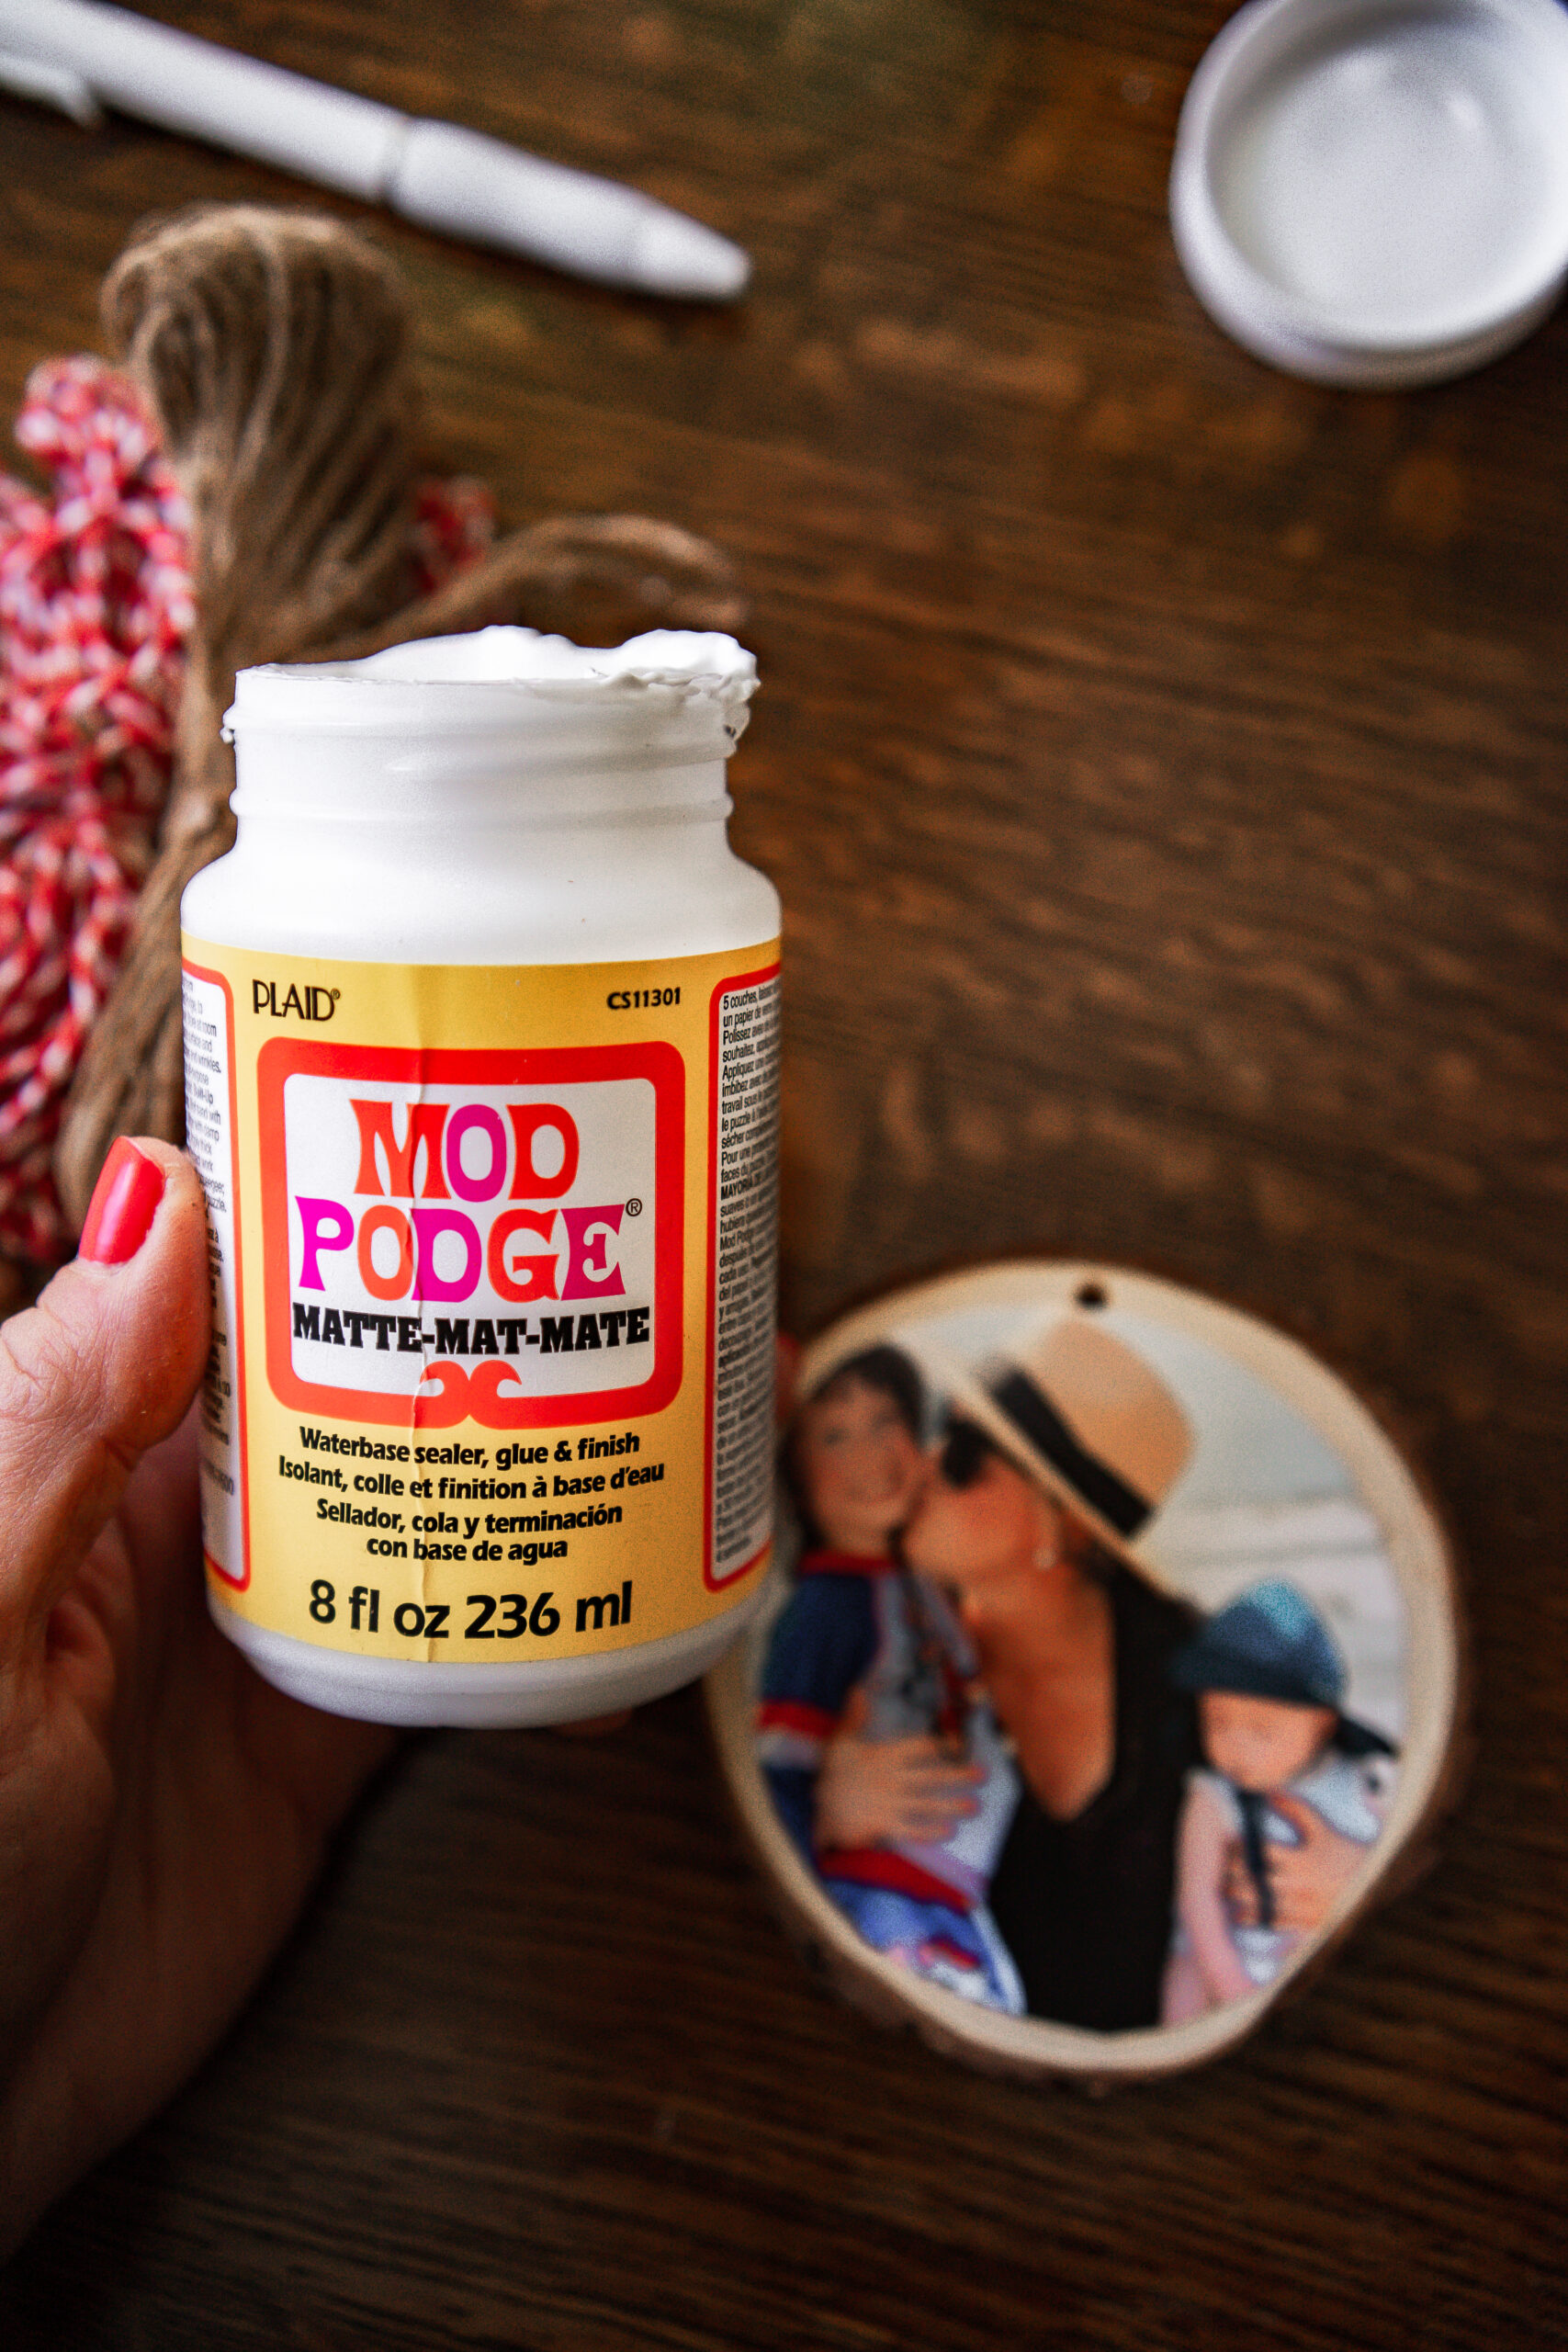
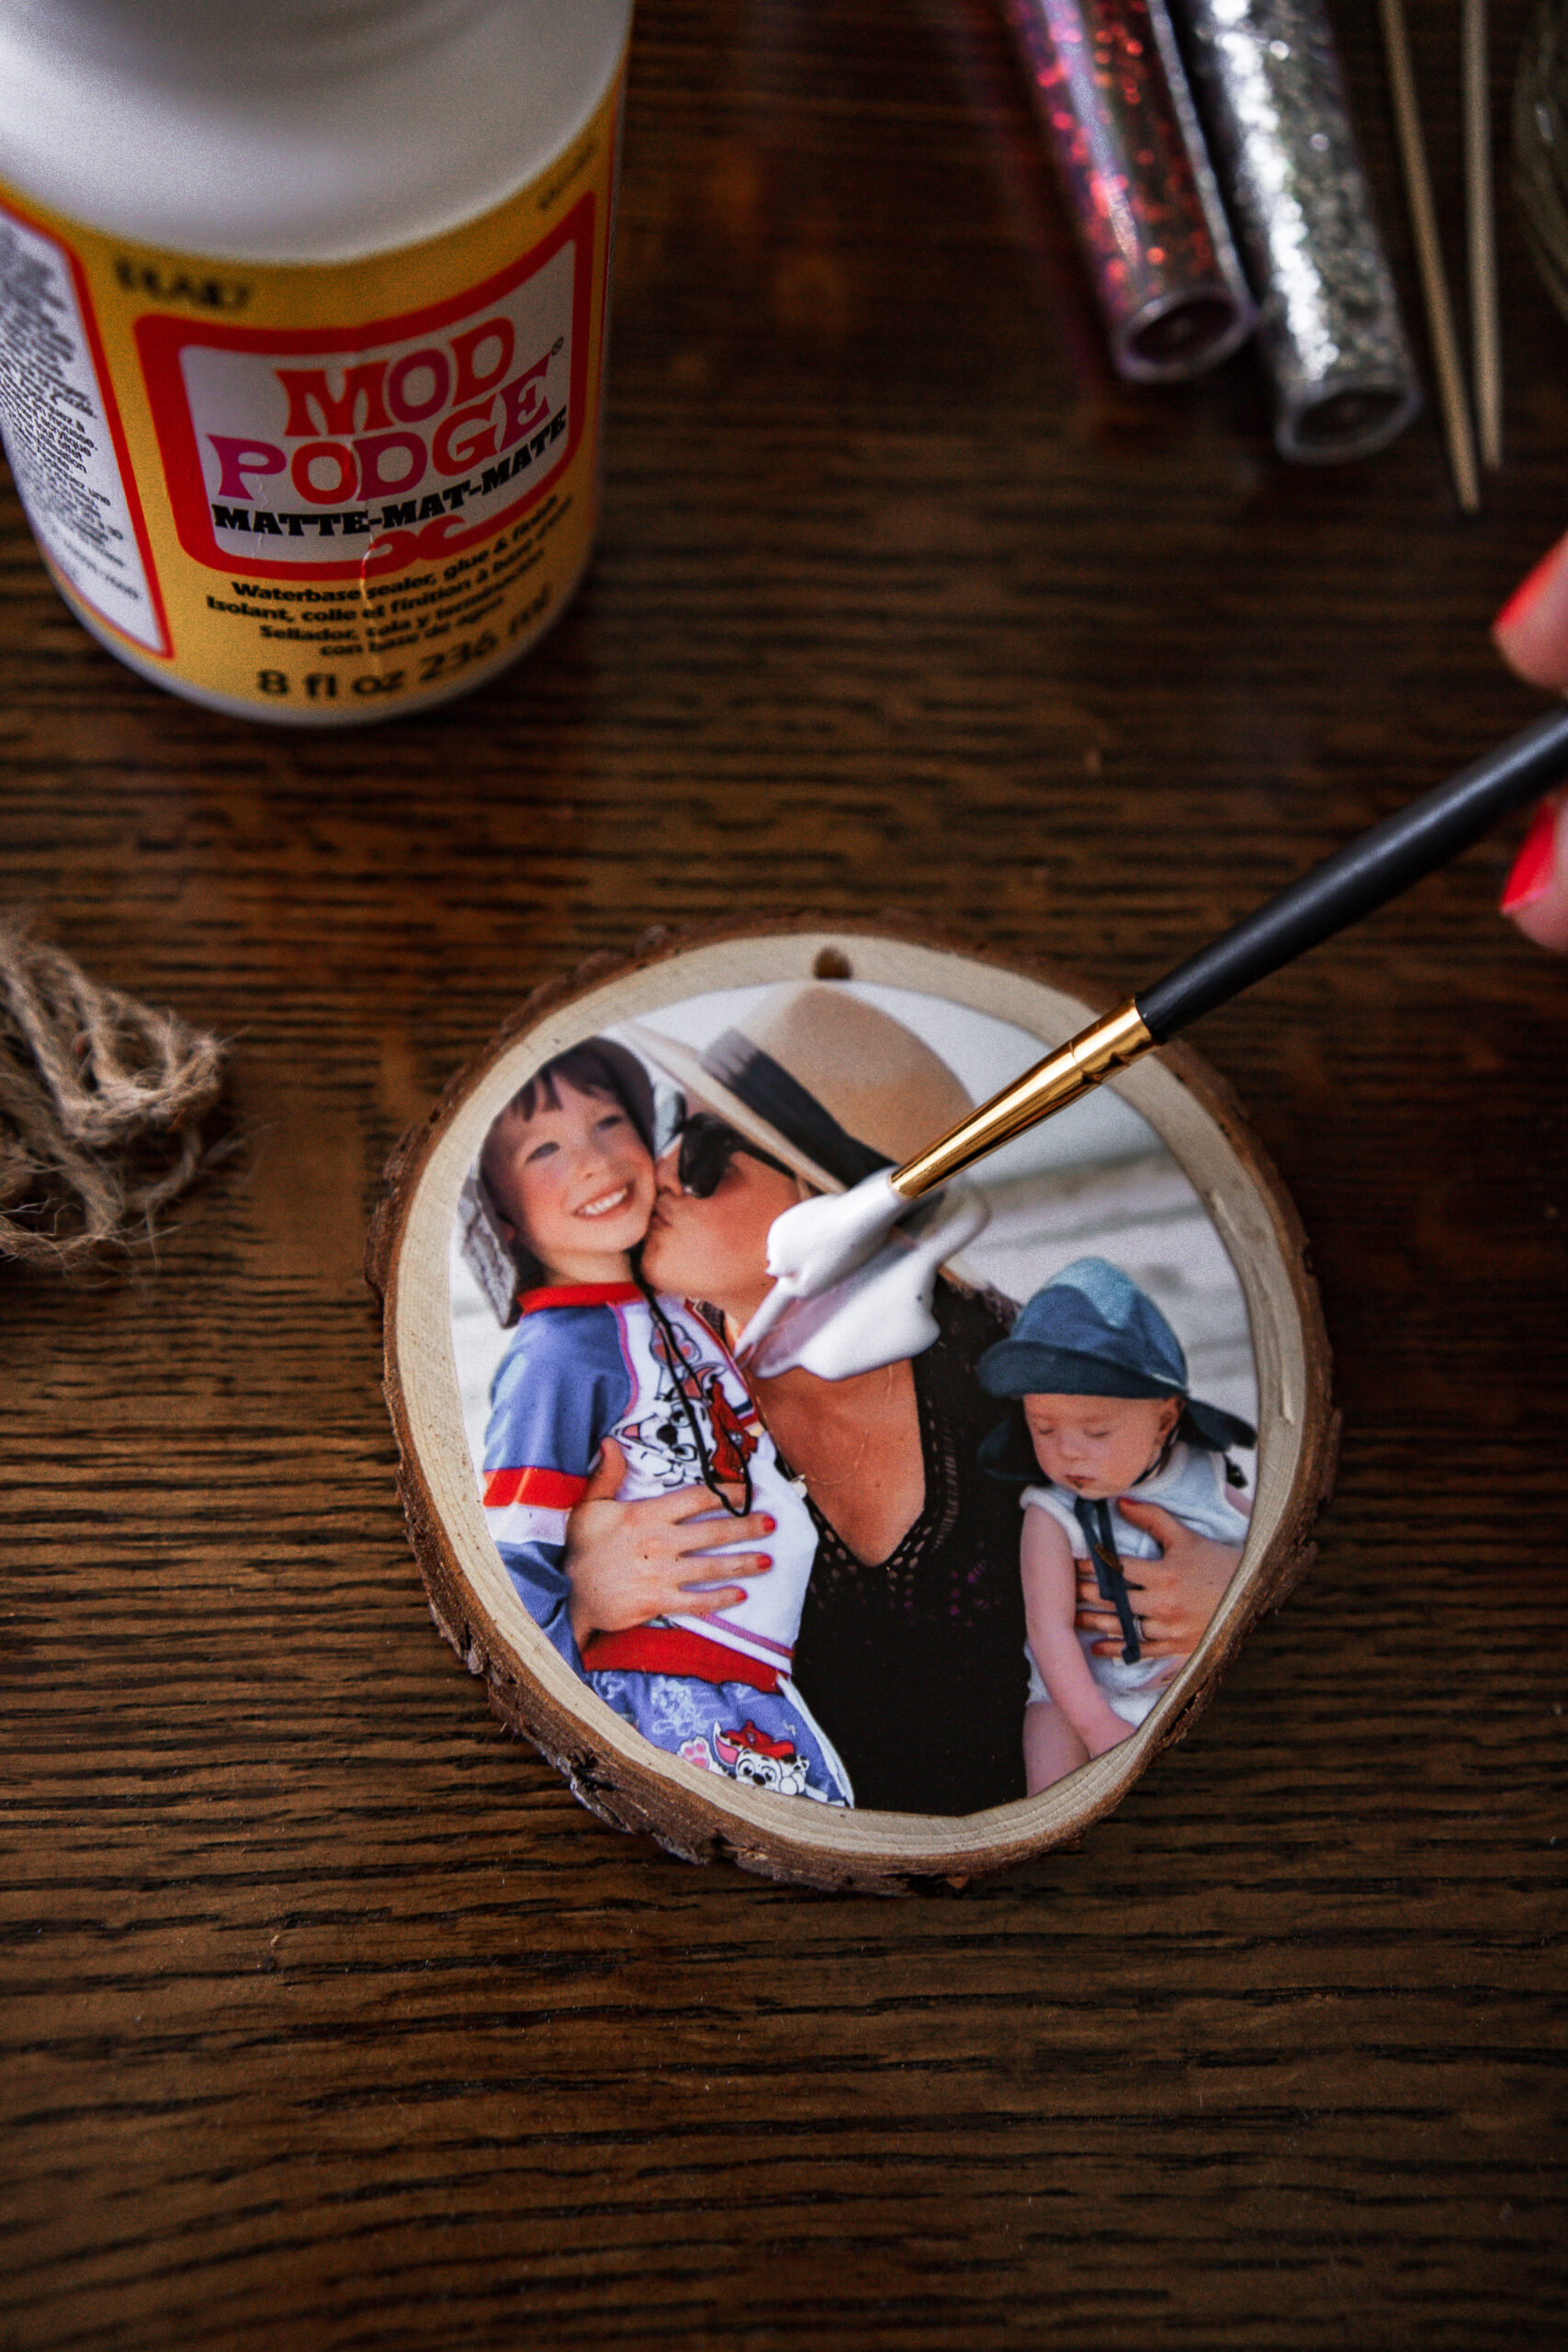
Take matte mod-podge and apply liberally covering entire picture. Let dry COMPLETELY- approx 20 mins!
5. Personalize the back (optional)
Flip over and personalize the back with another picture or use a paint pen to write a few words or simply leave blank!

6. Attach Ribbon or string
Use a toothpick to insert end of velvet ribbon through hole on top of wood slice or use included rope. Tie in a knot or bow.
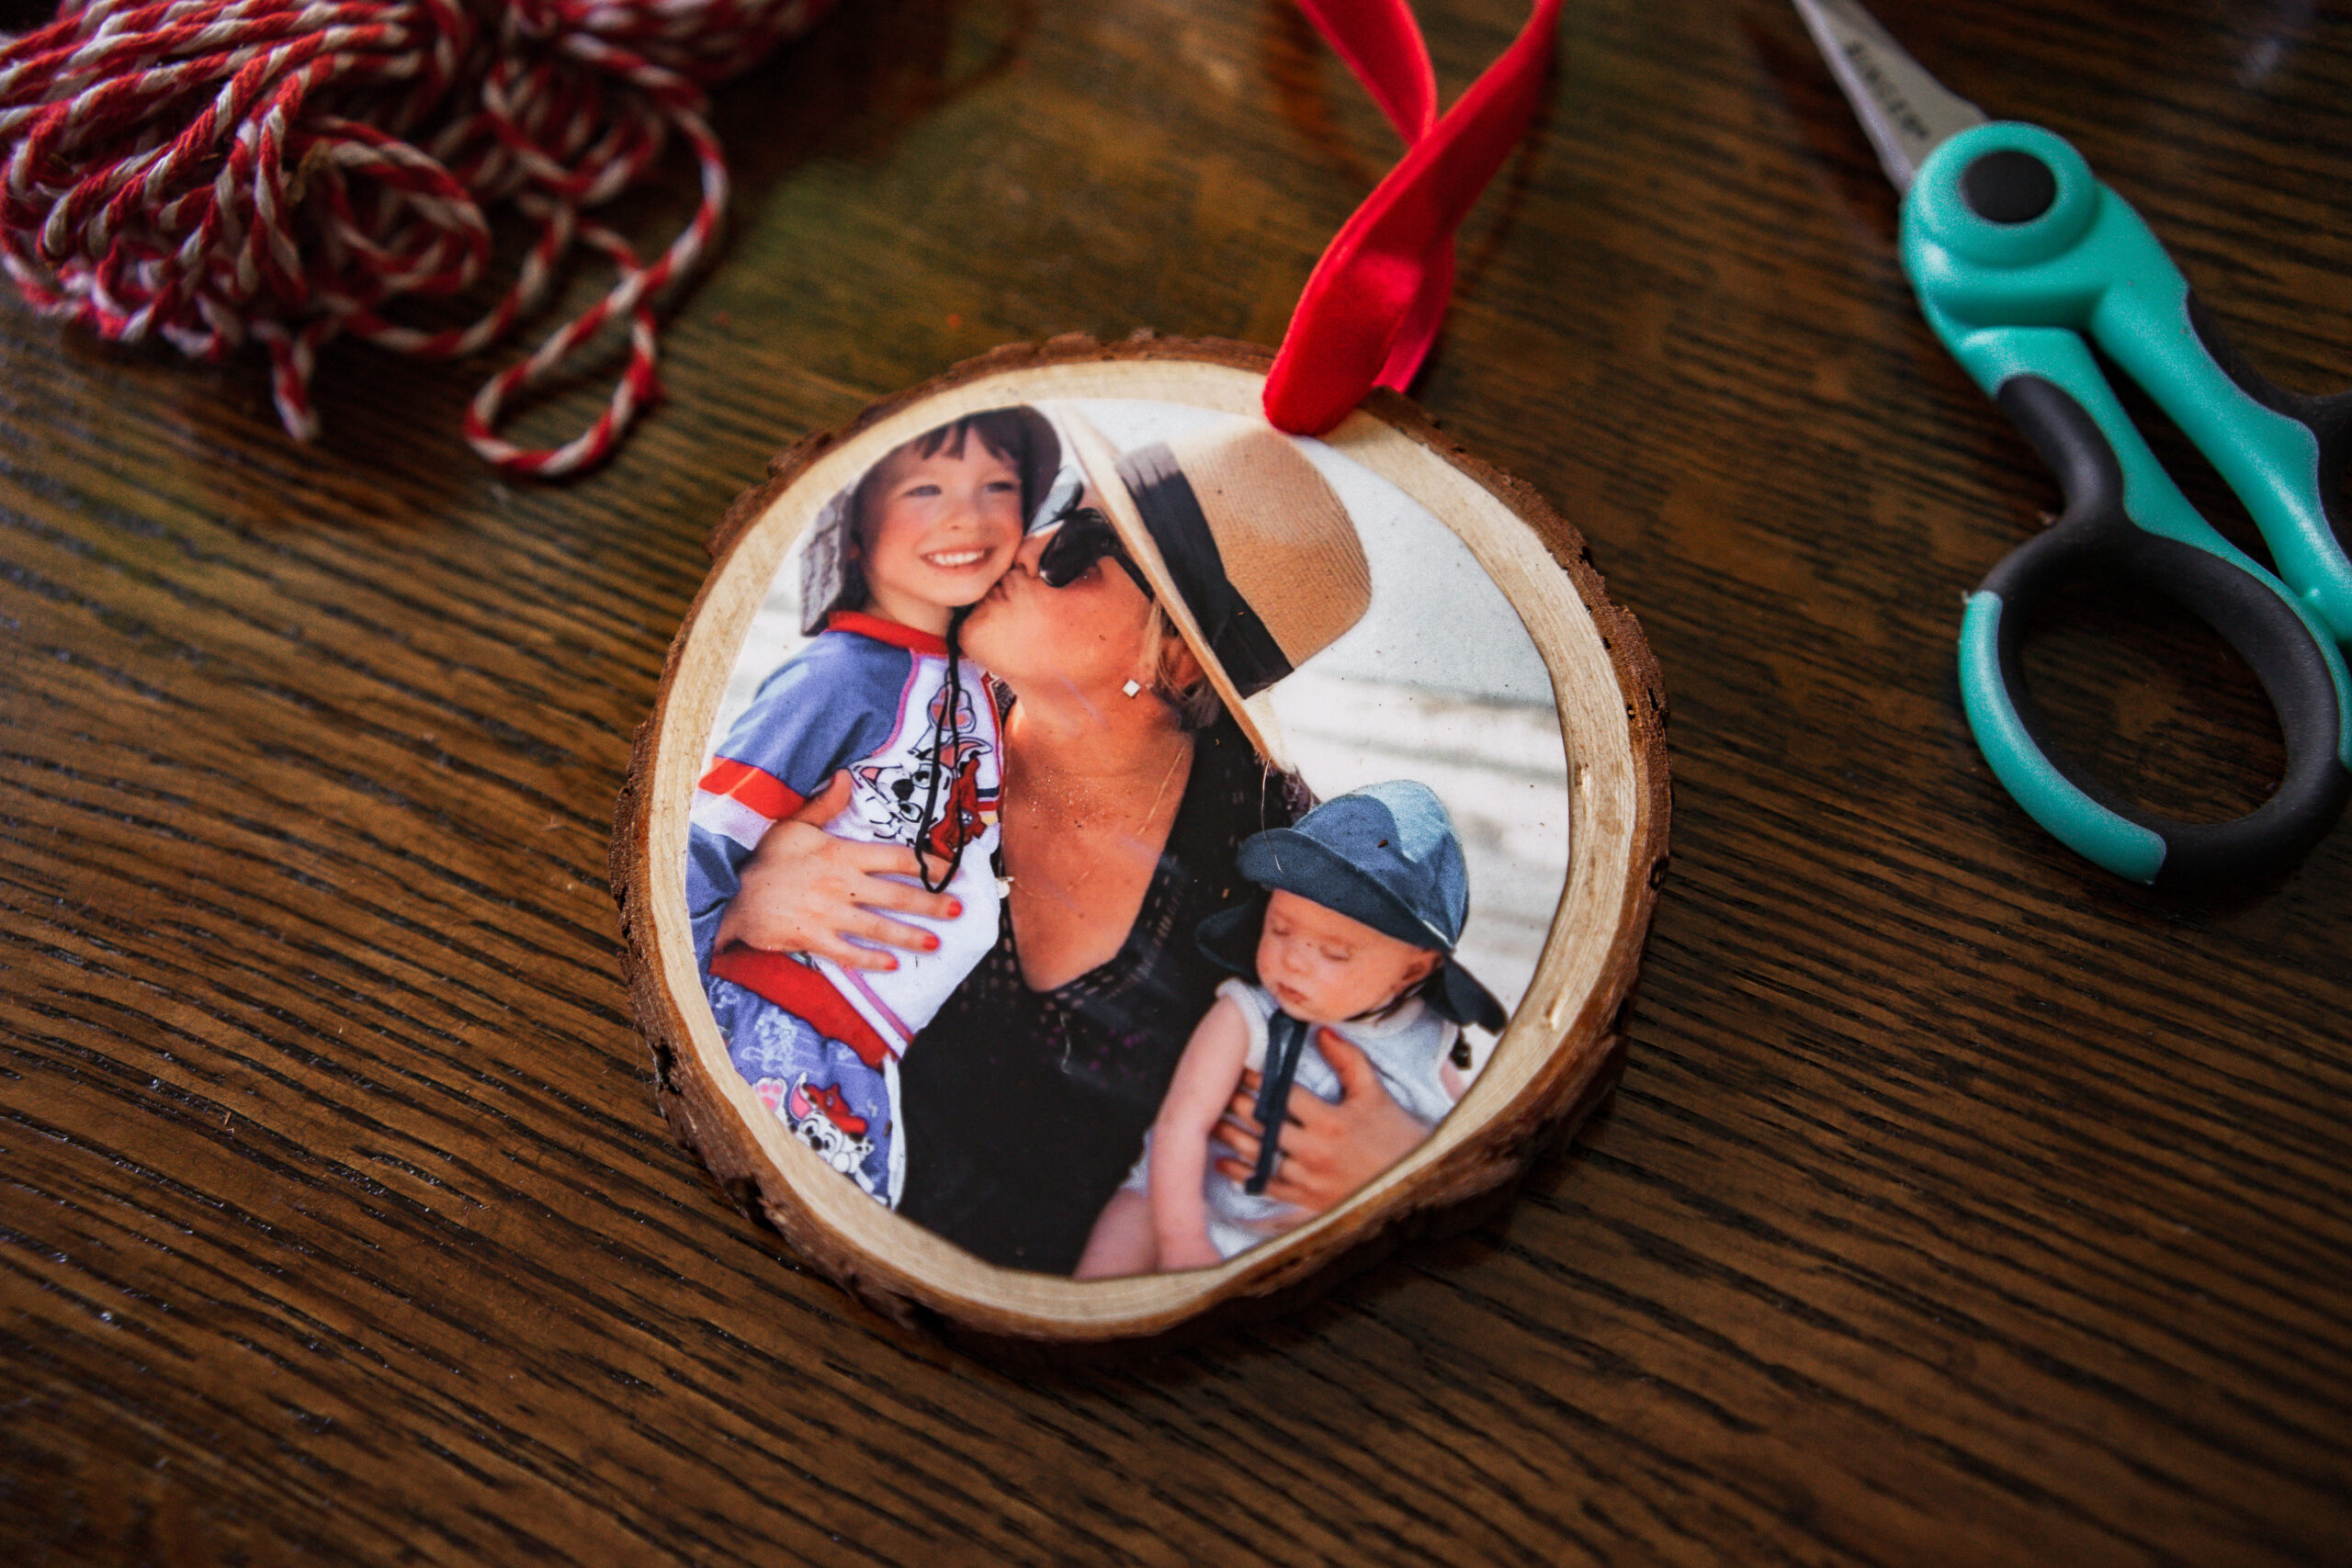
Gift or Hang on tree
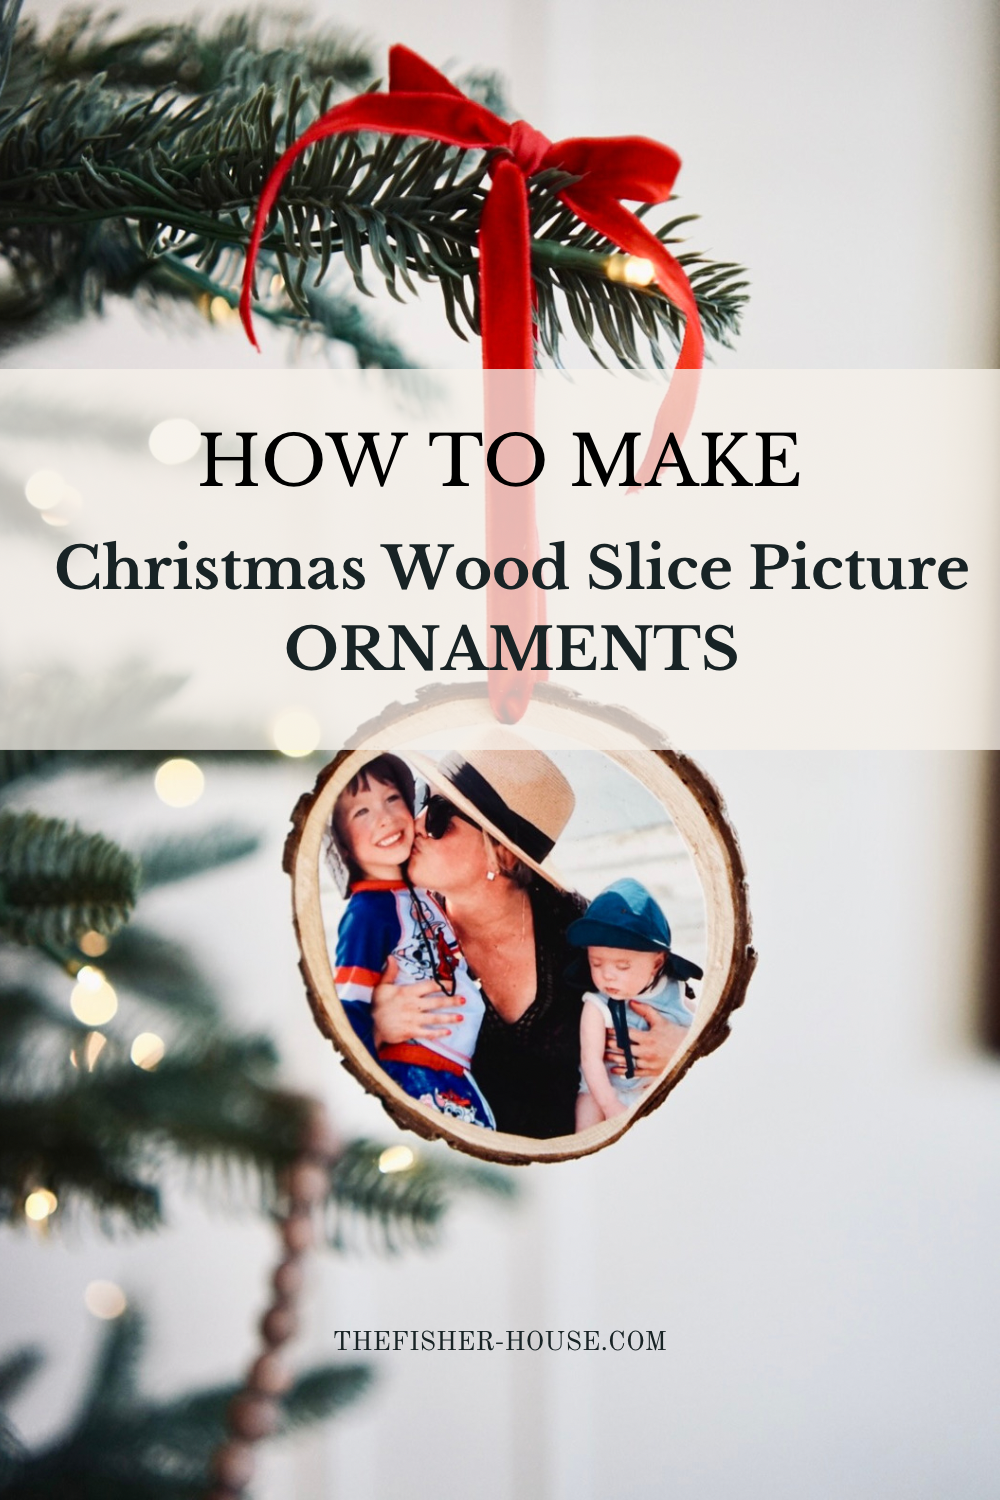
Alternative hanging options
Instead of using ribbon or string to hang, you can attach a magnet to the back. Use a dot of hot glue, let set and display all year round on a fridge.
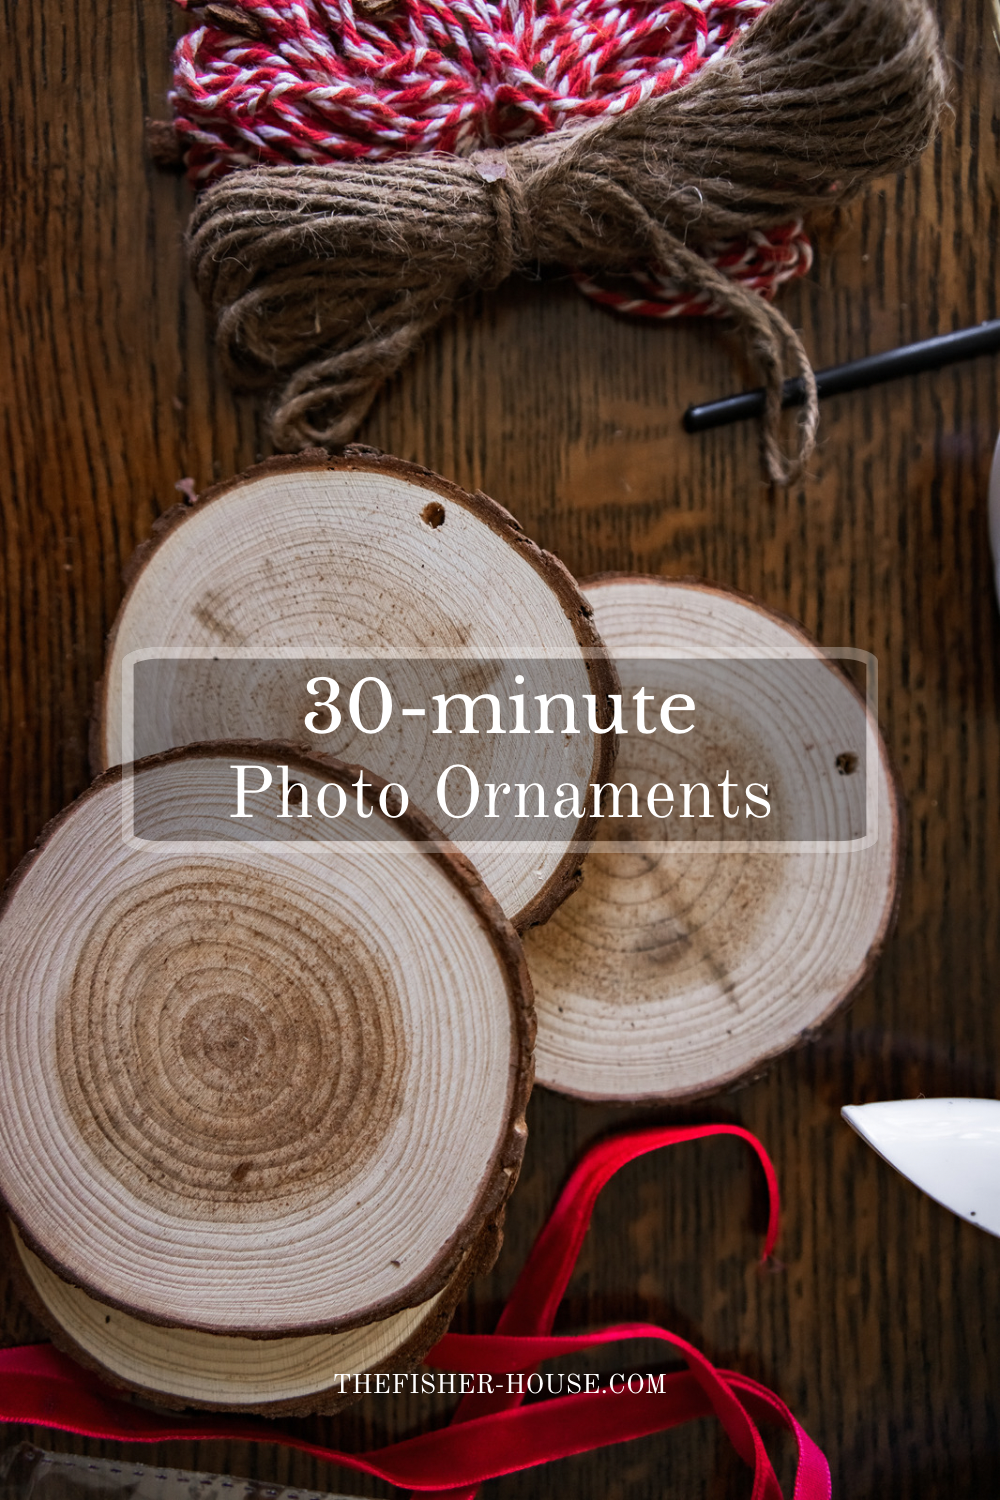
These picture ornaments are always some of my favorite to pull out year after year. This set linked has 30 wood slices, which is a generous amount that could last for years and years.
If you try this simple DIY, please share below . I would love to see all of the beautiful creations you come up with!
Thank you for stopping by, we are so thankful for your support ❤️