If you’ve ever looked at your outdated bathroom light and thought, “I wish I could change that, but I have no idea how”—you’re in the right place.
This blog post is your step-by-step, hand-holding guide to replacing a vanity light fixture, even if you’ve never touched an electrical tool in your life. I used to be intimidated by anything electrical too, but this project is simpler than it seems—and I promise, it’s doable with a little patience and the right guidance. Let’s turn that fear into empowerment, one wire at a time.
Supplies
- Vanity Light (mine linked here) (vanity light round up linked here)
- Screwdriver (flat-head and Phillips)
- Drill
- Voltage tester (non-contact preferred)
- Wire cutters/strippers
- Wire nuts (usually included in vanity kit)
- Electrical tape
- Step stool or ladder
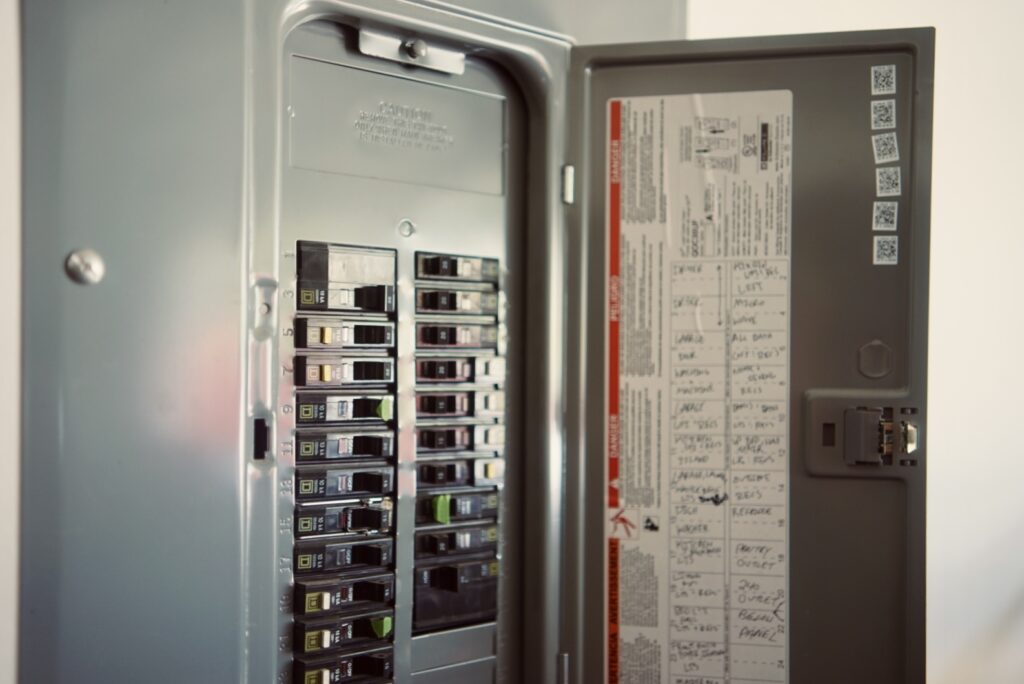
Step 1: Turn Off the Power
Safety first! Head to your circuit breaker and turn off the power to the bathroom. If you’re not sure which breaker controls the light, flip the switch for each until the vanity light goes off.
Tip: Always double check by using a voltage tester on the wires before you touch anything.
Double Tip: If your breaker isn’t labeled I would definitely spend a little afternoon labeling all the switches so you will know for the next project.
Step 2: Remove the Old Vanity Light
- Unscrew the fixture from the wall or mounting plate.
- Gently pull the fixture away to expose the wires behind.
- Use your voltage tester to ensure there’s no live current.
- Disconnect the wires by untwisting the wire nuts: black (hot), white (neutral), and the ground (bare copper or green).
- Remove the old mounting bracket if your new light comes with a different one.
Step 3: Install the New Mounting Bracket
- Line up the bracket with the junction box in your wall.
- Use screws (typically included) to attach it securely.
- Make sure the bracket is level—this will affect how the light sits.
Step 4: Connect the Wires
Match colors:
- Black (from wall) to black (from fixture)
- White (from wall) to white (from fixture)
- Ground (green or bare copper/gold) to ground screw or wire (or both)
- Twist wires together, then cap them with wire nuts, twisting the wire nut until fully tight.
- Wrap the wire nut with electrical tape for added security.
- Gently push the wires back into the wall box.
Step 5: Attach and Secure the New Fixture
Align the fixture to the bracket and screw it in.
Add any shades or bulbs that came with the light.
Step 6: Flip Breaker back on and Test!
Go back to your breaker box and flip the power back on. Return to your bathroom and test the switch. Now do the happy “Let there be light” dance and admire your work! 😍
YOU DID IT!
If you’ve made it this far, YOU-DID-IT!! I am so proud of you. There is nothing silly about celebrating every beautiful transformation you do to make your home, HOME. Swapping a vanity light is one of those beginner projects that may feel scary—but once you do it, you realize how powerful and capable you really are. Every project like this builds confidence and gives you the umph to tackle even bigger projects.
Courage isn’t the absence of fear, it’s choosing to act in spite of it!
Keep going—you’ve got this!
Do you feel ready to tackle your next DIY project? Follow along for more bathroom updates, home transformations, and faith-filled encouragement as we continue to bring intentional and purposeful life to our home, one project at a time!

Keywords: how to replace a vanity light, install bathroom light fixture, DIY lighting project, beginner electrical project, how to remove old vanity light, easy light install tutorial