So many people tell me sourdough feels confusing or it’s “too much science.” Listen, I promise you…it doesn’t have to be! Starting a sourdough starter can be simple.. mixing flour and water every day until it comes alive. That’s it. No fancy tools, no secret tricks. Just a little patience and a lot of excitement as you watch it grow.
But also, I was you! I was there. I was the skeptic for more years than I want to count. I was literally a sideline coach that had never played the game but yet judging the plays like I knew what I was talking about. No, we are not talking about football but that was actually a really good comparison 😉.
In all seriousness, once you have a starter, you can bake endless loaves of homemade bread, pizza dough, biscuits, pancakes, and so much more.
👉 I’ve also made a step-by-step YouTube video tutorial series walking you through exactly how I did it — you can watch it here.
What You’ll Need
- A clean jar or container (I love using these jars!)
- Flour (unbleached all-purpose or bread flour works best to begin)
- Water (room temperature, filtered)
- Scale (I’ve used this one for 2 years and love it!)
- A wooden or silicone spatula for stiring
That’s it! Just flour and water.
Step-by-Step Instructions
Day 1
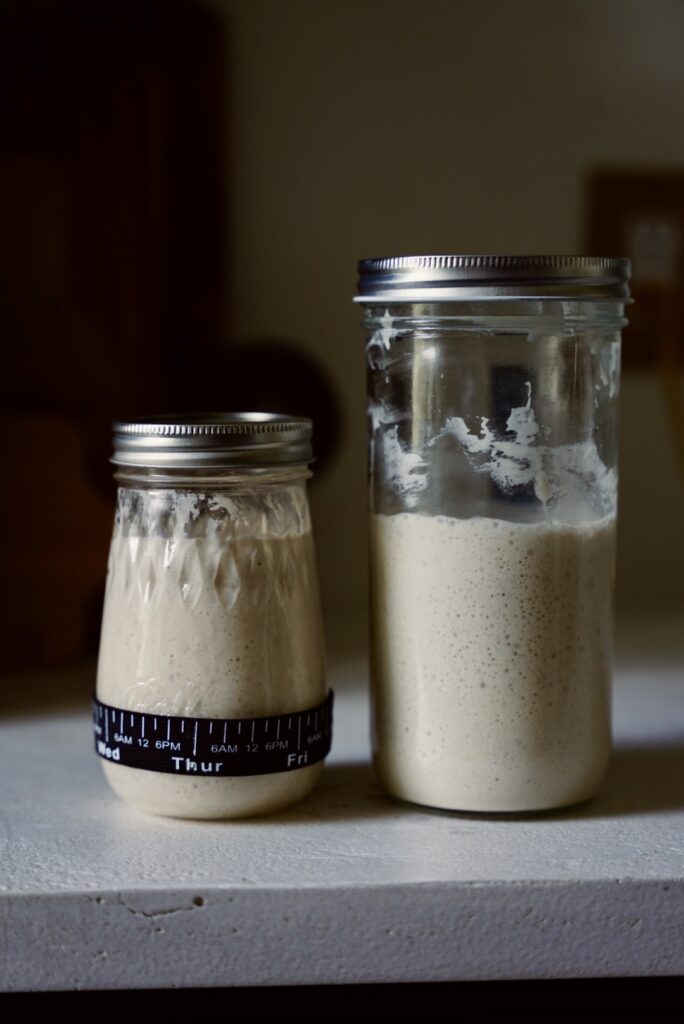
- Place your jar on scale, zero scale out and make sure it is on the gram measurement. (for photo purposes I had the lid on this jar but do not zero out scale until the lid is off jar)
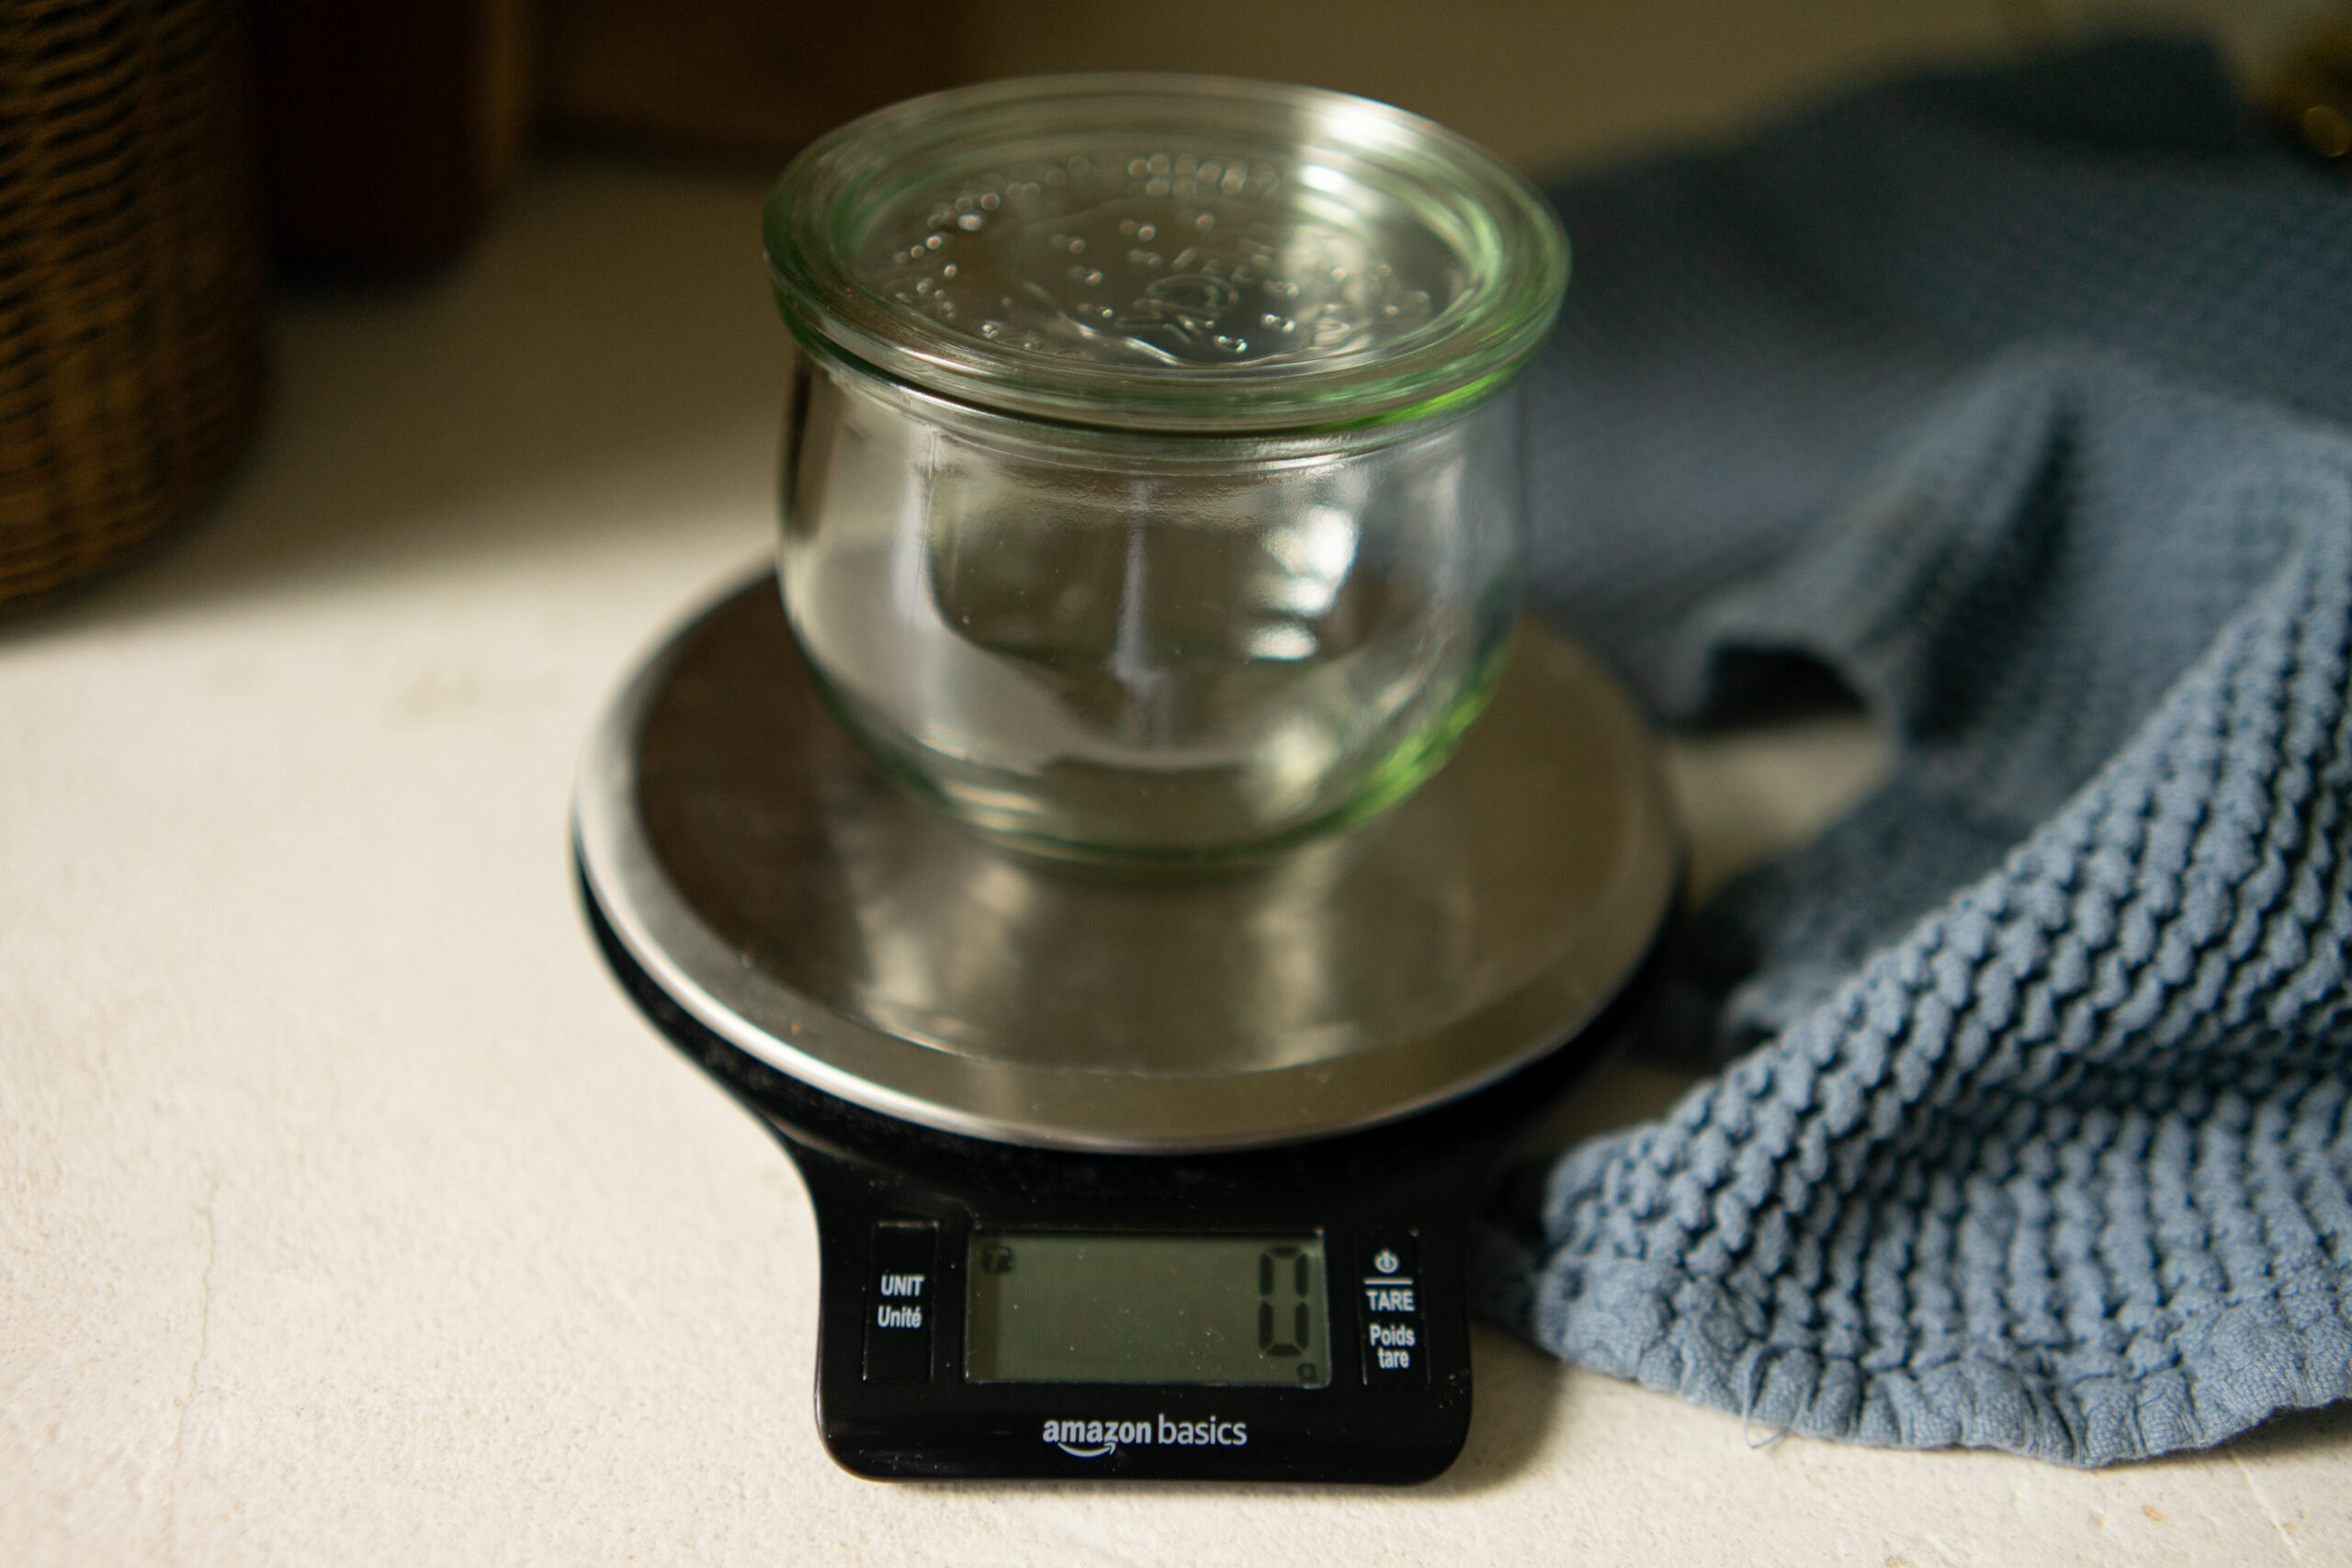
- Mix 60 grams flour + 60 grams water.
- Stir well with wooden or silicone spatula until it looks like thick pancake batter.
- Cover loosely with a lid and leave it on your counter at room temp (around 70–75°F) for 24 hours. If your home is on the cooler side you can put your jar in the oven with the door closed. In the winter I leave the light on inside the oven but in the summer I haven’t needed the light for warmth.
Day 2
- You might see little bubbles, or nothing at all- that’s completely normal!
- Add 60 grams flour + 60 grams water. Stir completely, cover, and let it sit again for 24 hours.
Day 3–5
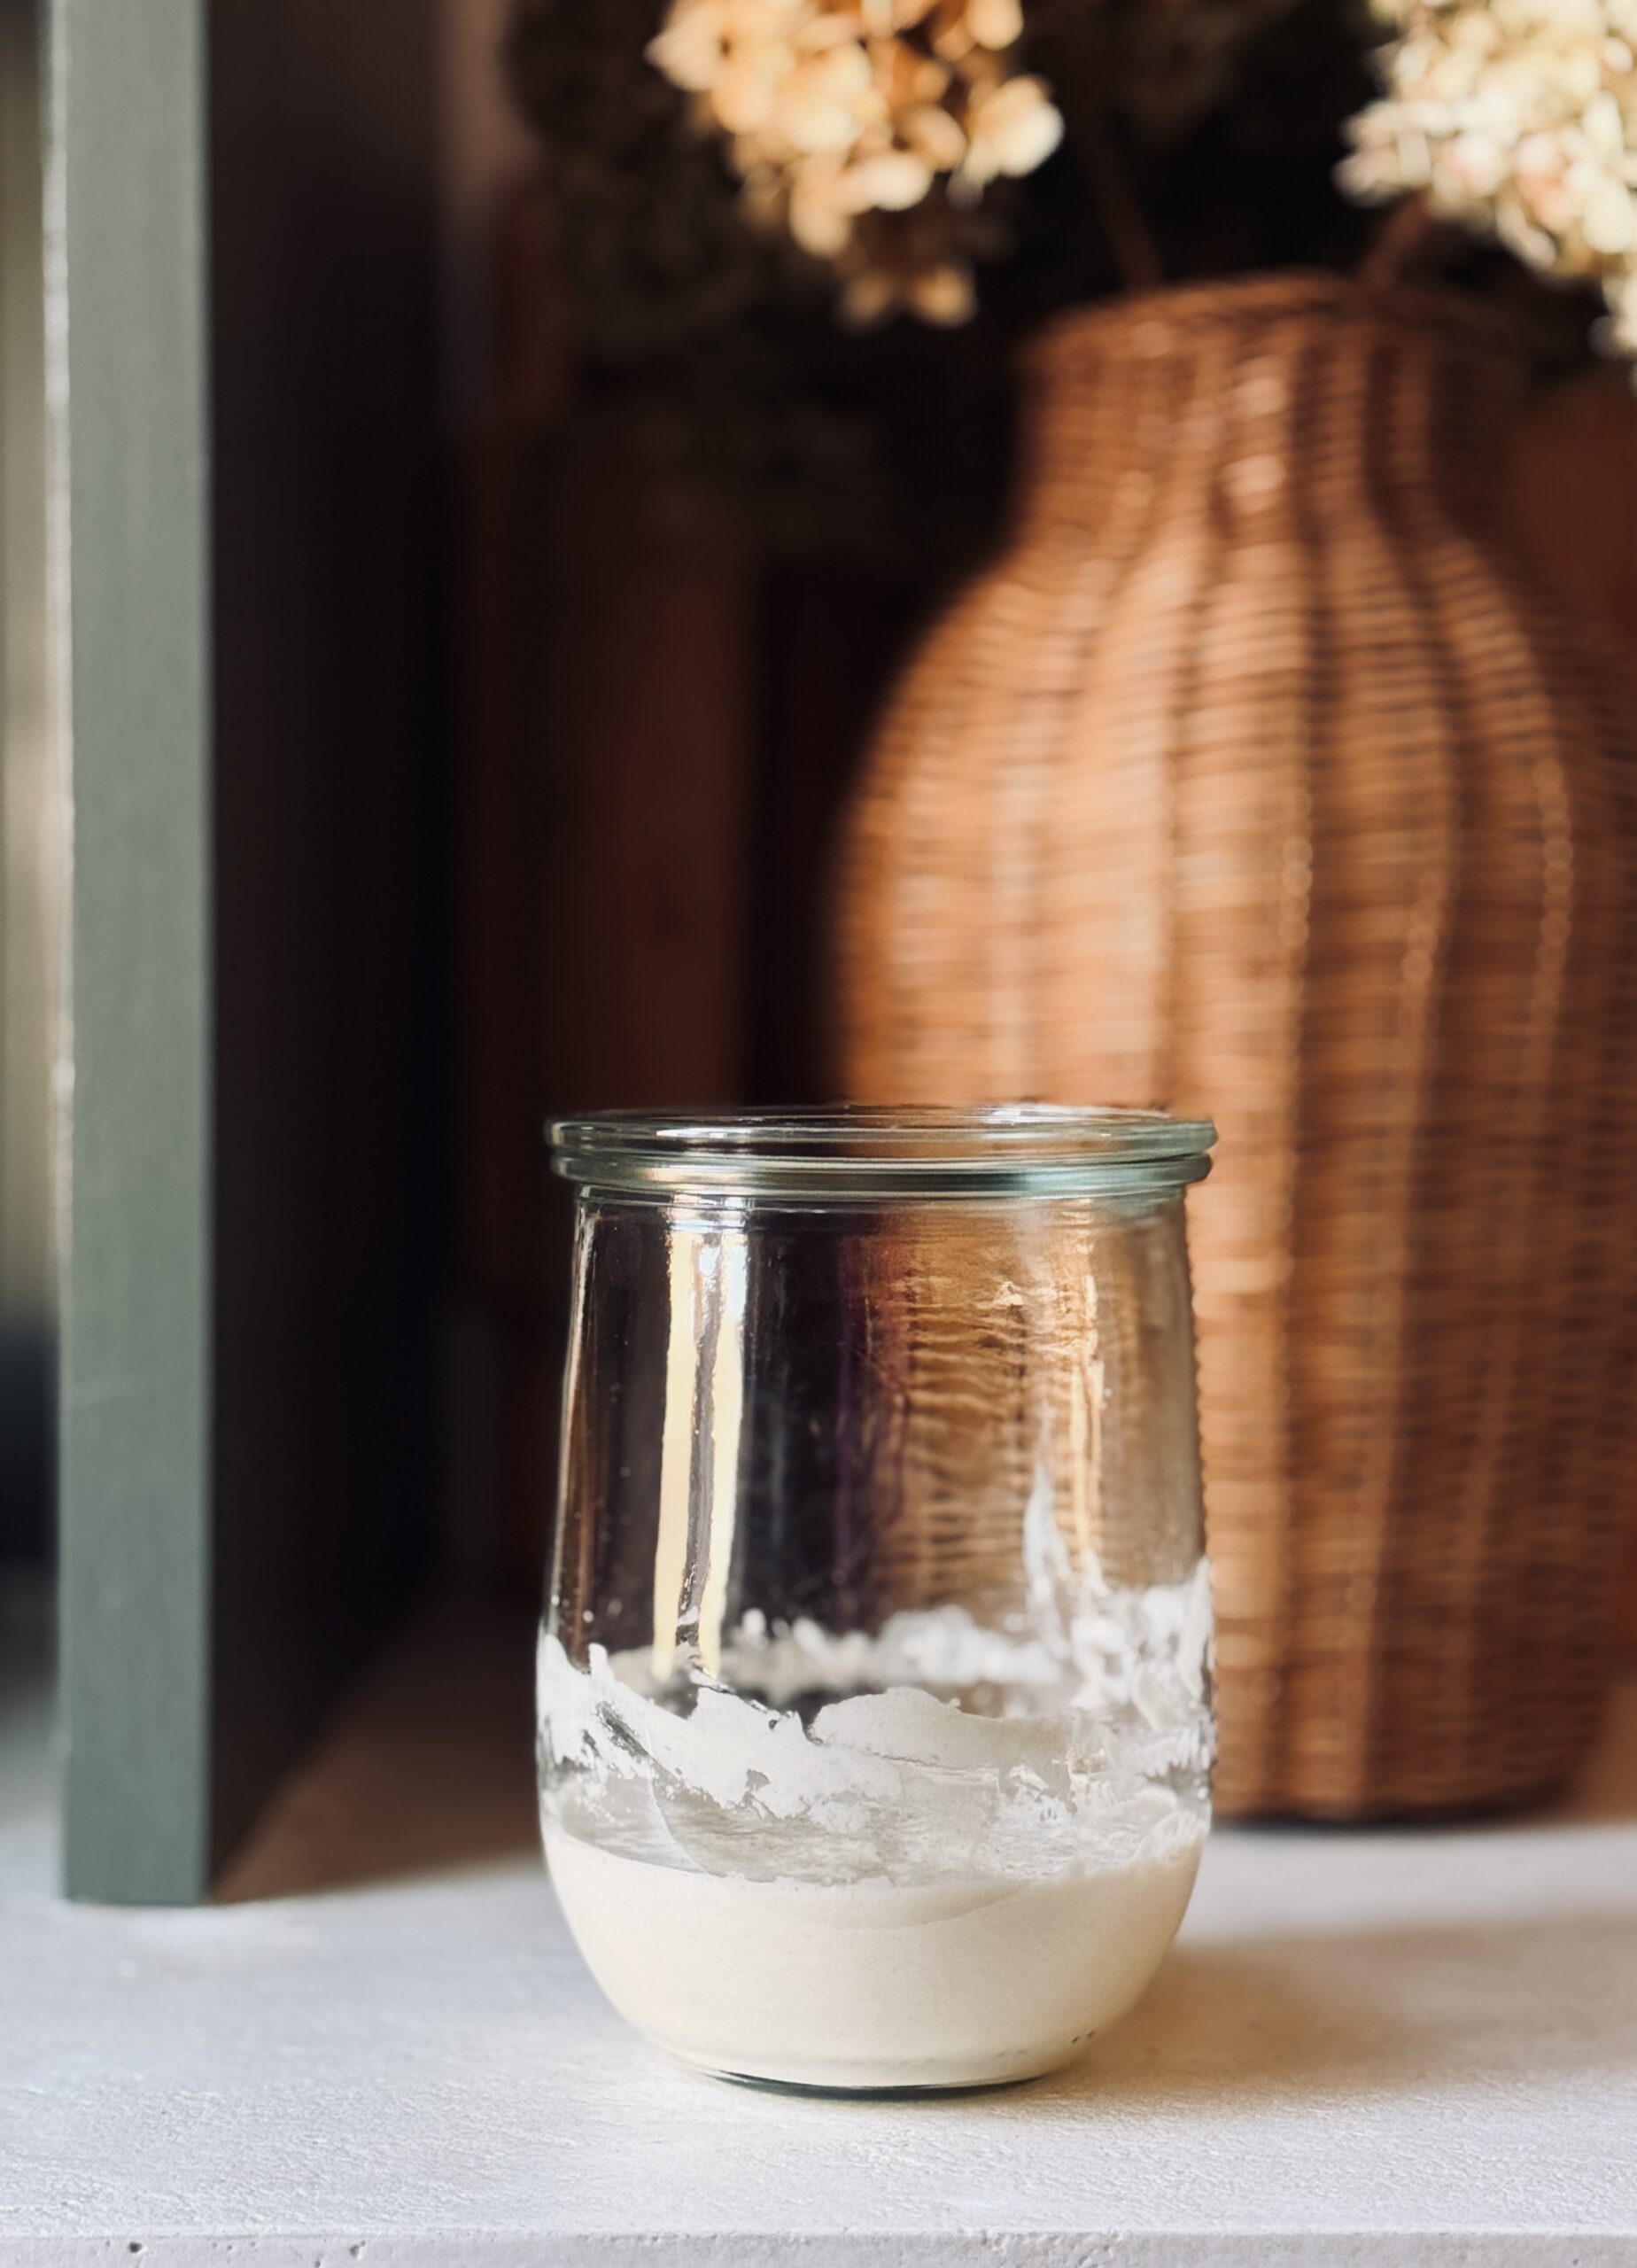
- Keep repeating the same process: discard half, feed with 60 grams flour + 60 grams water.
- Around day 3 or 4, you should start to see more bubbles, a yeasty smell, and the mixture will begin to rise and fall each day.
Day 6–7
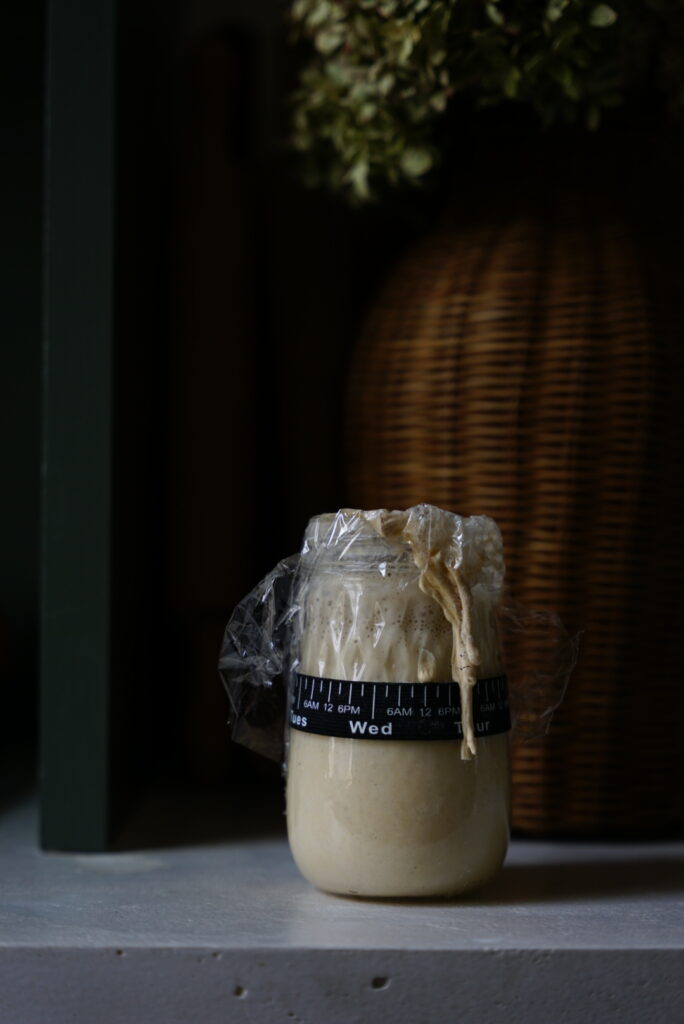
- By now, your starter should double in size a few hours after feeding and smell pleasantly tangy.
- If that’s happening, congratulations, you have an active starter! 🎉
- You can now use it to bake.
- Additional wisdom: Even though you can technically bake with it now, I would repeat double feedings (every 12 hours) till day 10!
How to Know It’s Ready
- It doubles in size within 4–6 hours of feeding.
- It’s bubbly and airy, not flat.
- It smells a little tangy but not rotten.
- Drop a spoonful in a cup of water, if it floats, it’s ready to bake with!
STICKY NOTE: Even though the float test is good, it is not the best indicator for gluten readiness. Do not fully rely on this factor, simply use it as an additional tool!
Tips for Success
- Don’t stress about being perfect. Starters are VERY forgiving.
- Keep it in a warm spot, cold kitchens slow things down.
- Always stir fully well after feeding to get oxygen in.
You do NOT have to feed your starter everyday. If you want to bake once or twice a week, I would suggest once your starter is fully established and successfully doubling in size and making successful loaves of bread, feed it on a 1:5:5 ratio (starter : flour : water). Then store in fridge until you feed it again for your next bake.
ex ratio: Add 3 grams of starter to your jar, then add 15 grams of flour and 15 grams of water. Mix fully and put a sealed top on it. This amount of feeding will allow for longer time periods and help to keep your starter from getting too sour.
Starting a sourdough starter may feel intimidating, but after creating two I’ve realized it’s simply learning to care for something for a little while, that gives back in abundance for a long while. With a little patience, you’ll soon have your very own living, bubbling starter that can feed your family for years or even generations to come.
👉 Watch my full YouTube tutorial here [WATCH HERE] for a visual guide, and shop my favorite starter tools [LINKED HERE].